Navigation Bar Home Furniture Posts DIY POSTS Photography Design

2.28.2011

giving a second life to lace

So it all started, when I visited a friend and saw this beautiful necklace made out of lace. It was in a gallery in Holland, MI and rightfully so. It was a beautiful work of art. Ever since, different ideas have been percolating on how to give lace a new life in other ways.

It's such a delicate material to work with. There are so many different patterns making each one you come across so unique. When I have a house of my own I want to display them more like my grandmother does.

This past Sunday, my ideas actually were brought to be by a vendor at a flea market in Brooklyn. It was a sweet old lady and her husband. I'm sure she had been a costume designer in the past. I like knowing where items like this are from. Each thing we buy has such a history when it's not bought in stores, but in places like this. Anyway, I will later post about this beautiful place, but for now this is what I saw. 3 dollars a yard. Eh maybe a bit pricey if you have a lot of sewing to do. But for me, perfect.

lace1
I bought three different patterns...and more soon I'm sure
lace13
The only supplies I need are a tiny travel sewing kit, (I'm going to have to upgrade soon. I left so much back at home!) the lace, scissors, & unwanted sports headbands (I seem to have so many just laying around) or any other ones you would like to use.
lace10
I chose a simple pattern.
lace11
A more ornate...
lace12
And a large banned lace.
lace8
For the first headband, I just measured the desired amount on my own head and then cut and sewed it together. You can choose colors that might blend in to the lace or I chose a quiet blue color to accent. Most of them it won't be seen if you just wear the overlapping part in the back. But it's up to you! (Normally it would depend on how much sewing practice you have!)
lace7
For the second, I separated the pattern thus creating a new image.
lace6
As you can see, the sewing doesn't have to be perfect!
lace2
For the third, I wanted to use the lace as is because it is so beautiful, but I wanted to add color as well as a little more support, so I found a thinner sports headband that fit perfectly in the space as seen above and just sewed about every couple inches down the line with a matching red thread. Too much color and variety would fight against the simplicity of the design. (You could also try super glue, but it would be more noticeable and wouldn't last as long!) For this method, you might have to cut the headband and then bobby pin in hair. If you're using a headband that is normally stretchy, it will no longer be once the lace is sewn. (see picture of final below)
lace9
No. 1
lace4
No. 2
lace3
No. 3


The whole process of making all three took no time at all. Just a playlist of your favorite music, a cup of tea and an inspired mind to put together your findings. Look around...lace is everywhere in vintage stores, flea markets, thrift stores. You don't even have to use lace that is older, you can buy it newer of course! I just like to find pieces that have more of past.

I hope you enjoyed this simply elegant look...happy Monday!

Sincerely,
Sarah

2.26.2011

The Little Things

By: Ashleigh

I finally made it home this weekend. So I have many things to happy about.  But today, I'm going to show you five furry little reasons that make coming home just a little bit sweeter.


Jimmy laying in the Christmas tree.

Norman.

Artie sleeping in a Macy's bag.

My Baby Rocko.

Elsa the Pound Pup.

It's good to be home :)


Sincerely,
Ashleigh

2.24.2011

A view as you cross

A must see in your lifetime.


Let's take a walk over the Brooklyn Bridge?

bbridge1


bbridge4


bbridge3


bbridge2


It was freezing out that night, but completely worth battling the cold for this view, don't you think? Too bad there were tarps up and snow piles everywhere..I promise to take more photos when they disappear!

As always, thanks for the walk!
Sincerely,
Sarah


2.23.2011

The Story of a Sad Little Table

By: Ashleigh

Brace yourselves for a long one.

Picture it. The story starts in a dimly lit junk booth. Dust floating through the air, poor helpless furniture drowning under piles of dirty hats and broken picture frames. I almost walked by when far in the corner, I spotted a shabby little table with puppy dog eyes, just begging to be rescued.

DSC_4546


Sad, isn't she?

DSC_4544


I thought you'd like a close up of the stains. Gross. The top was wobbly too, so I just popped it off.

Well actually, I used it as a bedside table for months. When I could stand it no longer I finally got to work. I sanded it down with a medium grit sanding block to get it as smooth as I could.


DSC_4549

I put one coat of primer on, then used wood glue to stop the top from wobbling. 

DSC_4554


I had to invest in a very sophisticated weight bearing mechanism. Let me tell you, it was pretty pricey.

DSC_4555

I let it dry over night and put on a second coat of primer the next morning. This thing was pretty beat up, with some weird brown paint/stain under the white paint and I didn't want it showing through.

DSC_4558

I had a color in mind for this piece. I wanted a light, cool gray that I could distress with white peeking out from underneath. I also had a budget: zero dollars. So I mixed my own!

DSC_4564


I added some dark gray/black from a sample pot to some white I had on hand. It still seemed too warm so I added a little blue from another sample I had.

DSC_4565


I ended up with the perfect cool gray, for free!

DSC_4574


I put on two coats to get good coverage.

DSC_4580


From afar it looked really good. But up close there were too many imperfections, so it needed distressed. I also thought distressing it would bring out the details.

DSC_4598


I am thrilled with how it turned out! It is definitely one of my favorite pieces to date. I think the distressing turned out really, really good this time!

DSC_4605


My secret? I used a fine grit sanding sponge. If you're trying to blast straight through to the bare wood, a medium grit is fine. But I wanted a more delicate, natural wearing. So I spent a long, long, LONG, time sanding to get the look I wanted.

DSC_4604


I love the way the white shows through. And I love the contrast of the dark brown and light gray.

DSC_4613
 
I sealed it with paste wax. It leaves the nicest luster of any top coat I've used.

DSC_4664

Here it sits next to my bed. But I'm afraid to put anything on it! 


Sincerely,
Ashleigh


PS: Linking up to:


Furniture Feature Fridays


Funky Junk's Saturday Nite Special
Chic on a Shoestring Decorating

Photobucket

2.22.2011

You should really diy

I went into this bakery a couple of years ago and saw one of the workers in the back wearing this adorable headband. My first thought was, why are you dressing up just to throw some flour around? Then I looked a little bit longer to see what materials it was made out of and realized, that's what it's meant for! After I stopped staring and making mental notes on how to make it, I stopped by the nearest Jo-Ann's and... that bag went straight to the back of my closet!

This summer though, I brought the idea back to life and finally put some pieces together...
headband2
match any of your favorite color combinations..old or new!
headband3
black, gold, silver thread? choose to let it blend in or stand out!
As you can see it's really only made out of three things..thread, buttons, and any headband that's soft enough to stick a needle through. The most durable here were just found at target.

headband1

I made several others, but gave them away to friends! ...Literally they take twenty minutes to make and they look casual enough to go to the grocery store or you could always dress them up as well.

headband5
Never mind the messy hair (trying to grow it out!)

I have so many more headband creations to share in future posts...Be creative not in what you make, but what you wear :)

Sincerely,
Sarah

PS: Linking this post up to Good Life Wednesdays @ A Beach Cottage !

2.21.2011

A Craigslist Frame PT. 2

By: Ashleigh

Hey everyone! If you're new to Sincerely you can read PT. 1 and get up to speed. If not, welcome to PT. 2 of the Craigslist frame saga.

This portion of the show is brought to you by the Pottery Barn Gilt Frame Card Holder (no longer available) that retailed for $150. 


$150 for a frame and some string?! I don't think so.
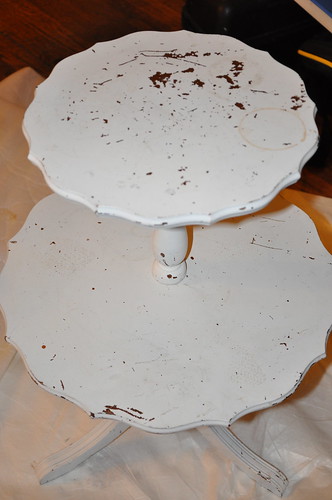
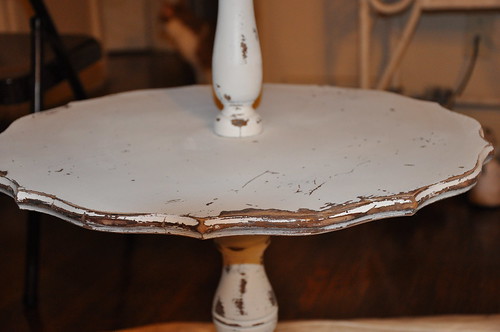
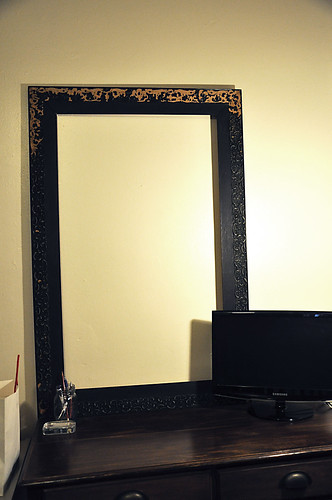
Here is my frame post cleaning:

DSC_4586

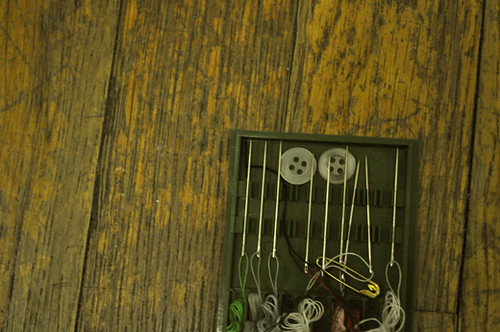
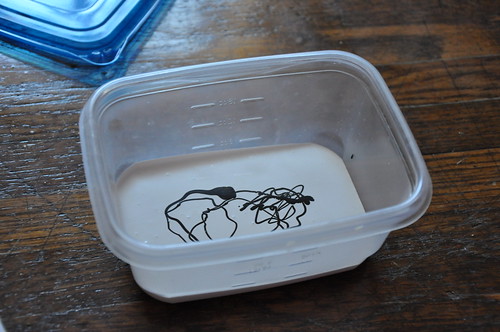
I did like it empty, but you know... I can never leave well enough alone. So I ran to Lowe's for some 24 gauge galvanized steel wire.

DSC_4582
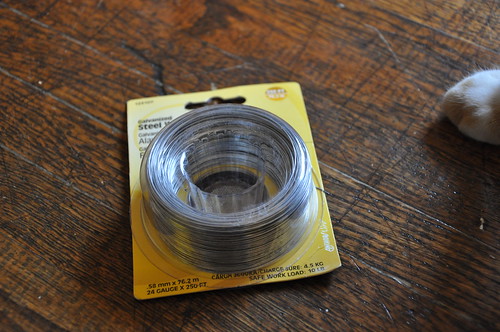
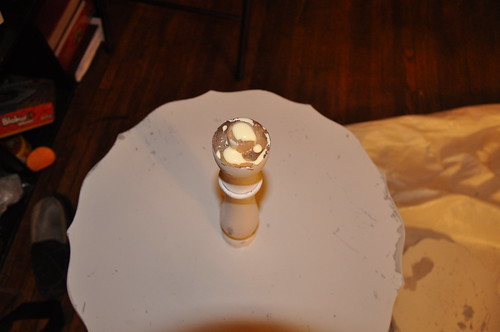
Yep, that's a kitty paw.
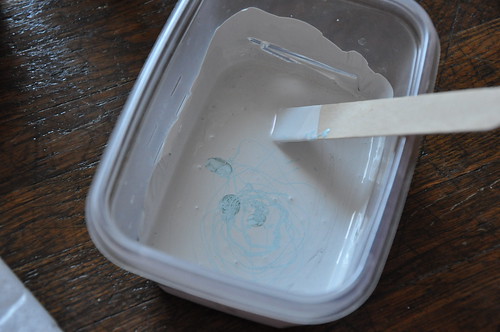
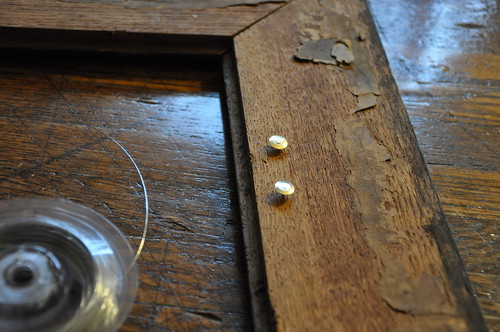
I wasn't sure how I was going to attach the wire to the back. I couldn't pound in nails because the frame isn't that sturdy, and pounding in nails would have knocked more of the carving off of the front.  So I got out my trusty tool kit (that I borrowed from my mom) and found some thumb tacks. That I pushed in with my thumbs. OUCH. I put them in kind of haphazardly so the wires wouldn't be in perfect lines.

DSC_4590

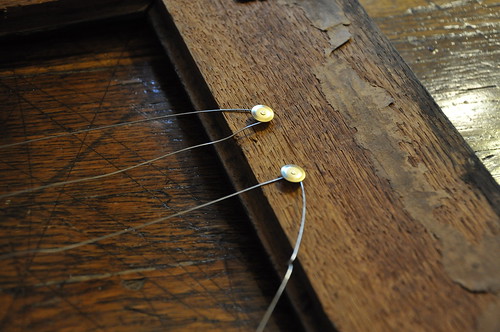
Then I started wrapping the wires around the tacks. If you ever decide to do this, make sure you pull the wires tight as you go along. Or you end up like me and have to unwind a bunch and start over because of your sagging wires.

DSC_4591

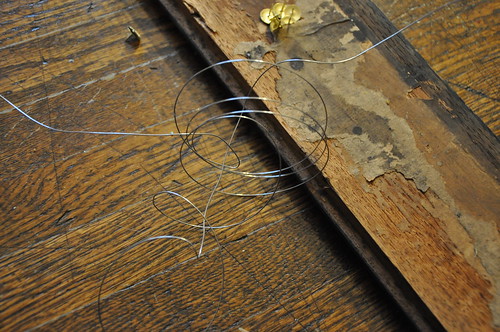
This also happened to me. A tangled mess of wire.

DSC_4592

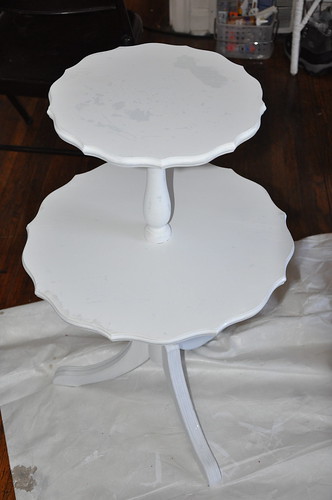
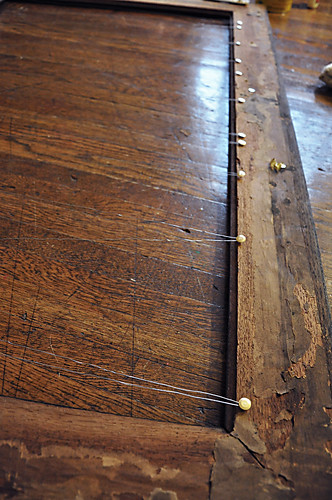
Finally though, I got it all finished.

DSC_4593

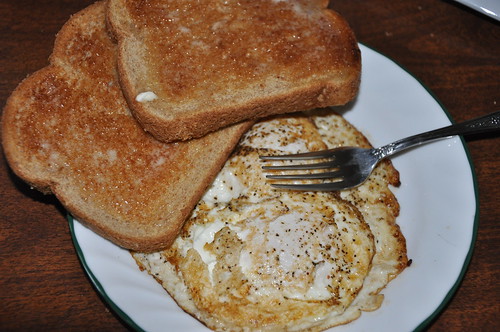
Then I had to take a break and make breakfast. I was worn out! And my thumbs were aching!

DSC_4557

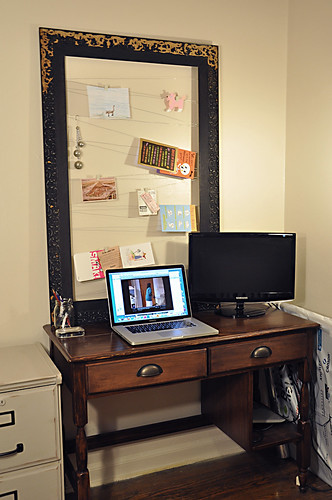
Now to the good stuff. I put it back on my desk and adorned the wires with some of my favorite things.


DSC_4651


DSC_4653

I can always count on my grandma, grandpa and uncle to send me cards for even the littlest holiday. So I love to have them out where I can see them. Sometimes getting one of those familiar envelopes in the mail is the only thing that gets me through the long weeks away from my family.


DSC_4654

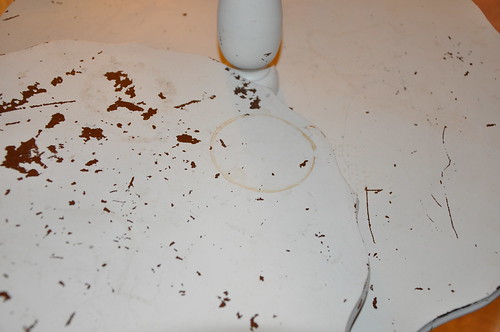
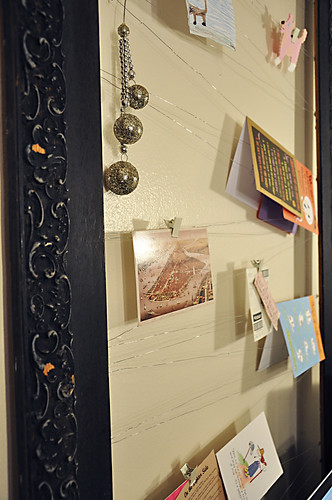
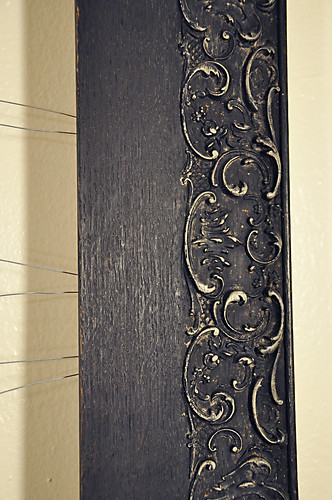
Here's a detail shot so you can see the awesome carving and aged patina on this frame.


DSC_4657

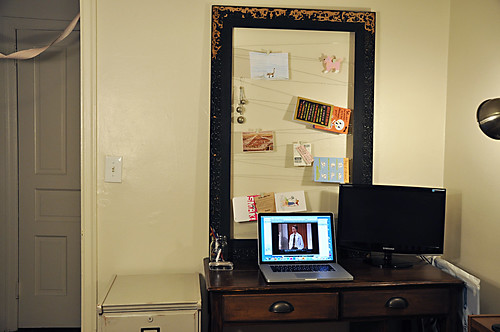
I'm much happier with it now. 

Here's the cost breakdown:

Frame       $15
Wire         $4

Total:        $19


I think that beats the $150 Pottery Barn frame. For sure!


Hope you enjoyed!

Sincerely,

Ashleigh

PS: Linking up to:


Nifty Thrifty Tuesday at Coastal Charm
How To's Day at The Lettered Cottage

Tip 
Junkie handmade projectsTransformation Thursday


Related Posts Plugin for WordPress, Blogger...