Navigation Bar Home Furniture Posts DIY POSTS Photography Design
Showing posts with label Frame. Show all posts

5.18.2011

Rescuing Some Antique Frames

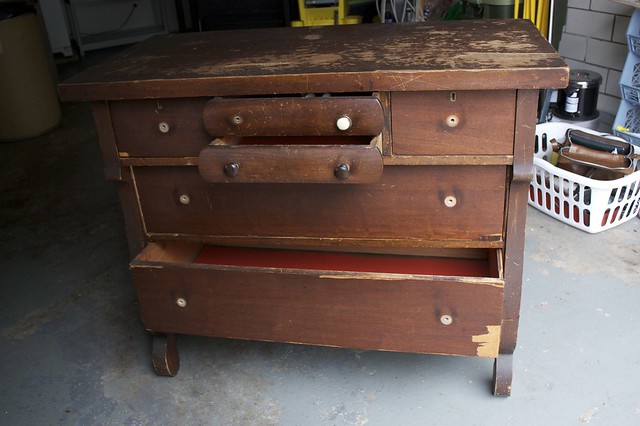
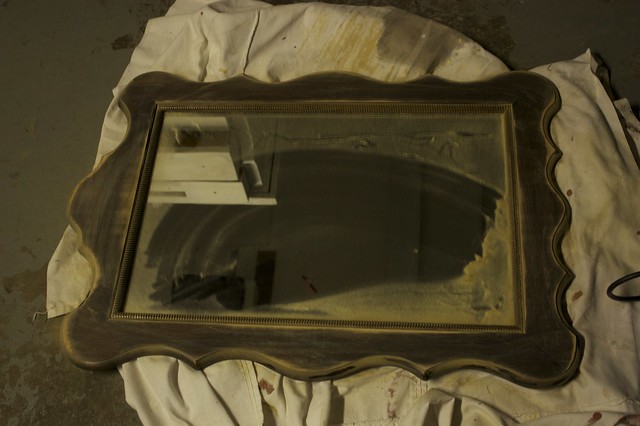
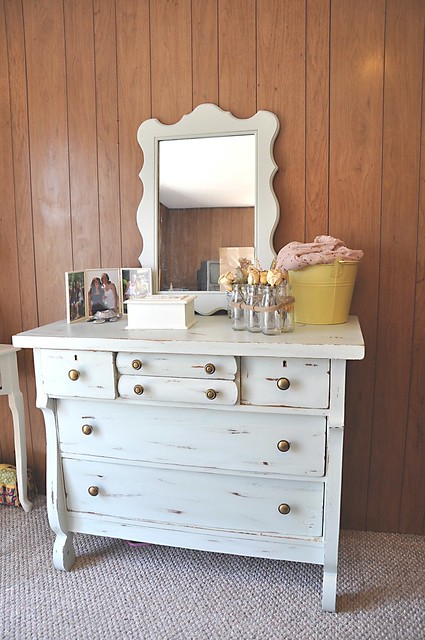
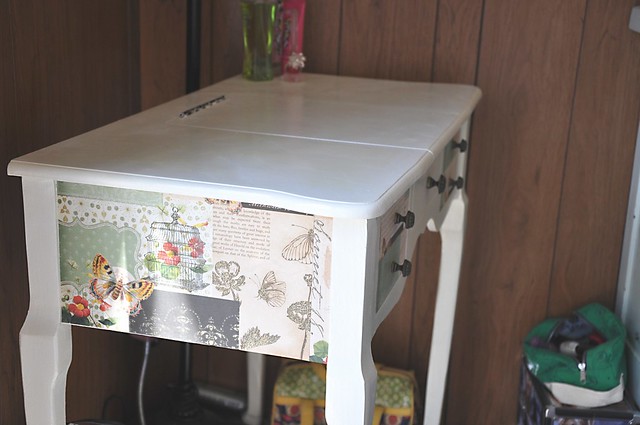
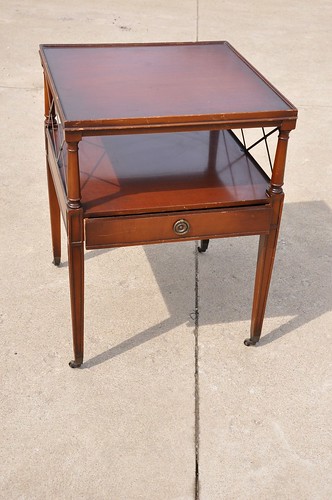
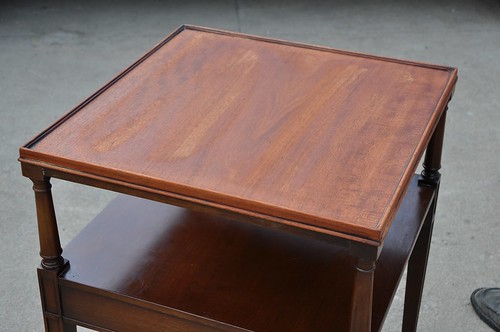
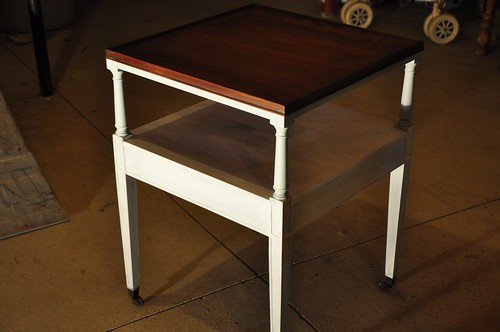
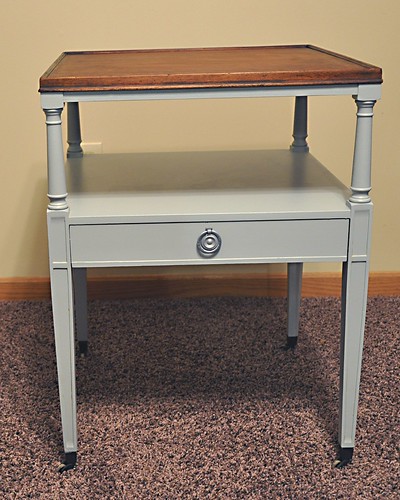
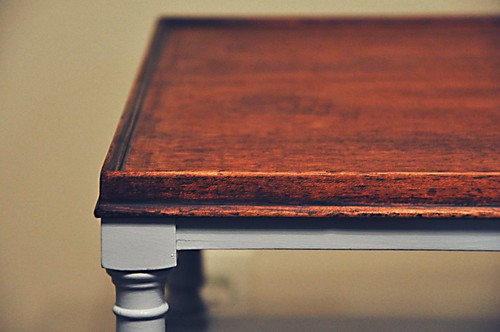
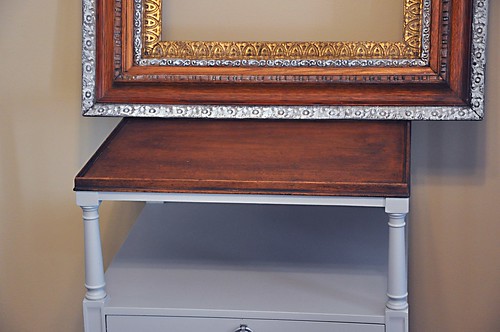
The rain (and the death of my palm sander) is hindering my project progress. So, today I'm going to share a couple of frames I fixed up for my cousin Jill a while back. You might remember that I fixed up an end table and a coffee table for her. Her mom (my great Aunt) had these in her garage and thought we could do something with them.

They were in pretty rough condition.

DSC_4699

DSC_4700

DSC_4707

DSC_4706

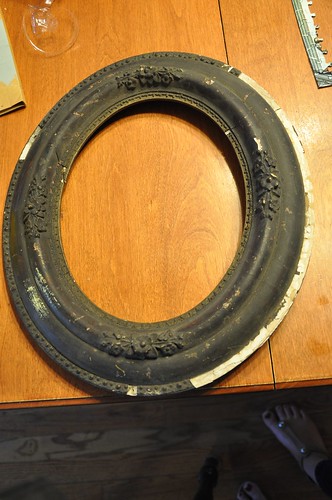
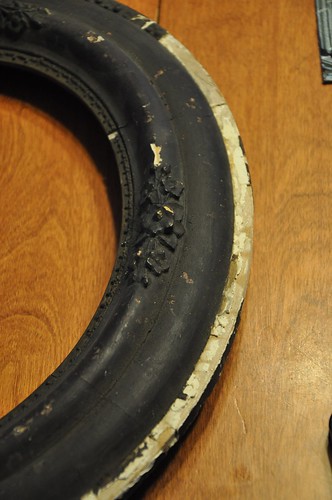
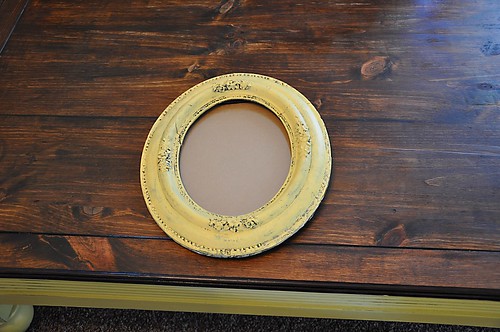
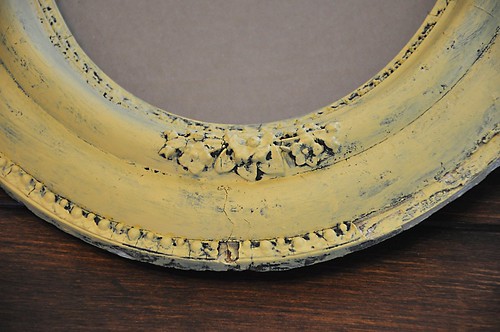
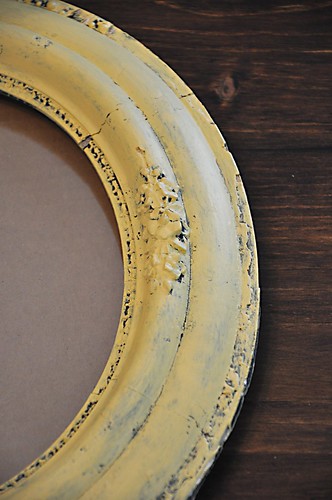
I wiped off the round one and painted it yellow. I used really light coats of paint and left some original black showing through.

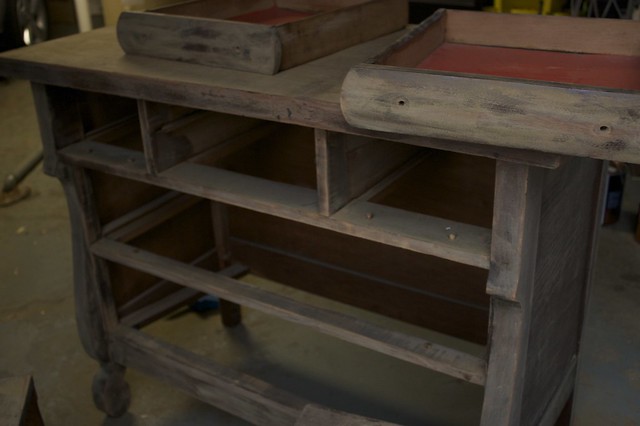
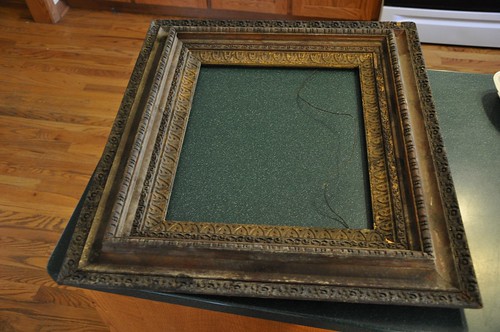
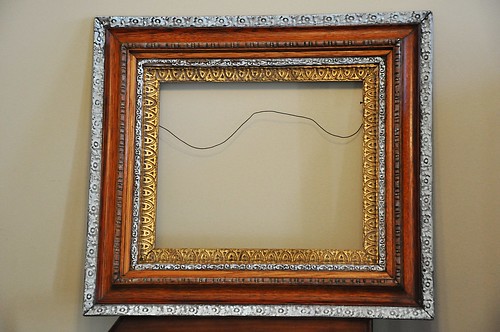
The other one took a little more work. Aided with some warm soapy water, windex and a toothbrush, I attacked it.

DSC_4710

DSC_4709

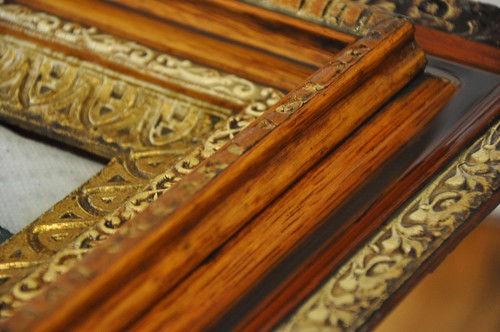
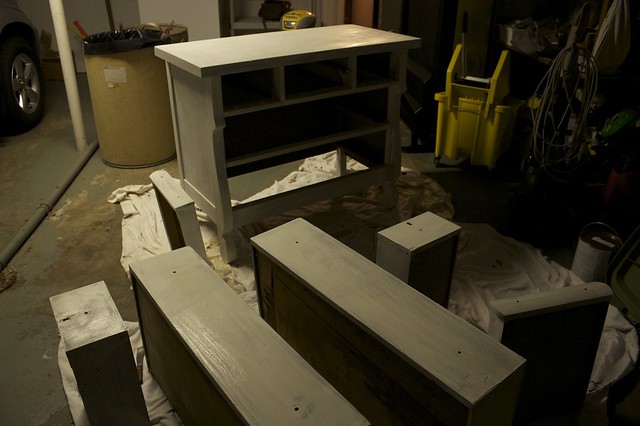
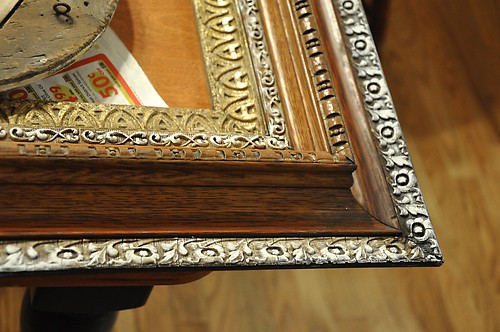
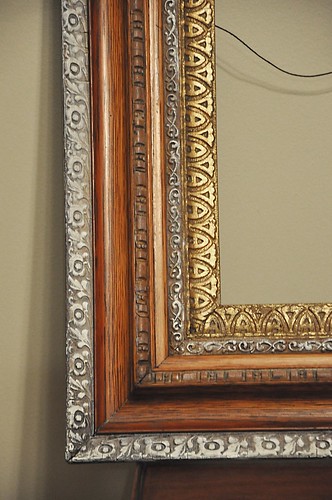
I couldn't believe what it looked like underneath that layer of nasty. Two hours later I had this-

DSC_4714

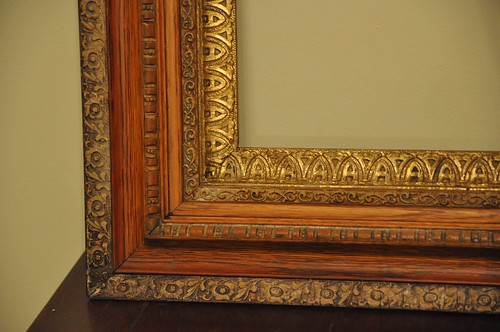
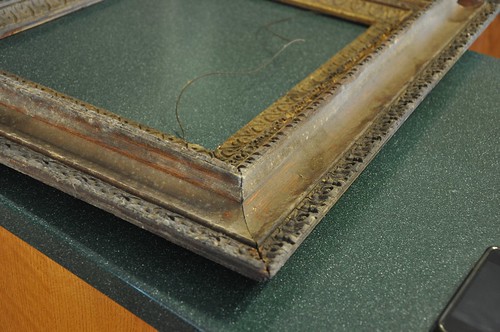
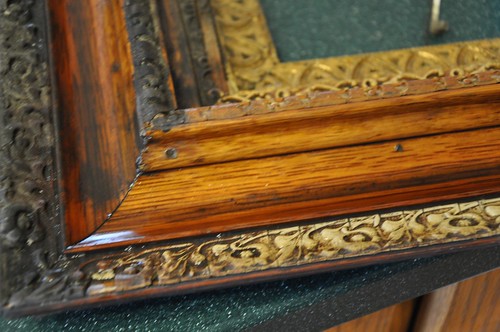
The plaster looked a little dingy so I dry brushed on a little paint to match the end table.

DSC_4715

DSC_4726

DSC_4729

DSC_4740

DSC_4741

DSC_4742


DSC_4743

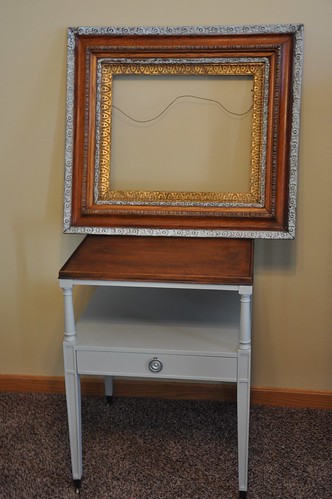
Here they are at Jill's.


I hope this rain stops sometime soon so I can get out and work in the sun. Check back this week for new projects :)

Sincerely,
Ashleigh

PS:
PhotobucketDomestically SpeakingTransformation Thursday Beyond The Picket FencePhotobucket


4.27.2011

Dresser Makeover + Mini Apartment Tour

This post was just going to be about two dressers I worked on with my best friend, Rachel. But as I was going through the pictures, I decided I had to share more of her space. Rachel has incredible style. With her apartment she's had a ton of limitations, but the girl has managed to make paneling work!

First order of business: a pair of dressers in need of some TLC.

IMG_2528
Not Pictured: A tall one that looks just like this.
We also found this mirror for $2 at a garage sale.

IMG_2538

We sanded them both down, ripped out that awful contact paper and cleaned them with some dawn water.

IMG_2532

We gave them each one coat of primer and two coats of a pretty gray-blue-green. We distressed them and sealed them 24 hours later.

IMG_2533

Ta-da!

DSC_4785

She needed A TON of new knobs. I forget where she found them but I know they were a good deal. And I think they work perfectly.

DSC_4786


DSC_4796


DSC_4798

I also had to show you her cute little vanity. It was feeling a little dated so she gave it a fresh coat of white and embellished it with some pretty scrap book paper.

DSC_4790

DSC_4794

DSC_4795

Next up- a subtle wall decal. I love how it almost shimmers and it's not too obvious.

DSC_4789

DSC_4803

Her dad helped her put up the crown molding to hide a tangle of wires. The awesome copper lamp is from Ikea.

DSC_4805

I had to take a quick shot of her mantle too. The last name artwork was a wedding gift and the bottles, lanterns and odds n' ends were collected over time.

DSC_4810

How great is this little hall table?

DSC_4779

With some help from her dad she tuned an old shutter and scrap pieces of railing into a console perfect for her little space.

DSC_4778

And I couldn't help but show you the chalkboard I made her for her last birthday. I've already got ideas for this coming b-day. Rachel is the most fun person to give gifts to!
DSC_4772 

I hope you enjoyed the tour! I keep telling Rachel that I can't wait for her to buy a house so we can really go to town!

I hope you're all having a wonderful week so far. Don't forget to check back Friday for our free May calendar!

Sincerely,
Ashleigh

PS Linking up to:

 The DIY Show Off

Chic on a Shoestring Decorating

Furniture Feature Fridays

4.11.2011

A New End Table!

I am addicted to end tables! I can't help it. There are so many different styles. Like shoes. I'm also addicted to shoes. 

Enter this little guy:

DSC_4671
I got him and another solid wood end table for $35 bucks thanks to my awesome Craigslisting skills. 

(There's also a small dresser in negotiations! I'm really keeping my fingers crossed for this one!)

Anyway. I was just going to paint the whole thing but my boyfriend convinced my to stain the top and paint the rest. I was impressed! He's learning! He even offered to do the sanding. I am the luckiest girl in the world.

So here's the top stripped and conditioned, ready for stain.
DSC_4678

I used Minwax Dark Walknut (big surprise there).

We took off these metal pieces. We almost used them but decided not to at the last minute. We filled in the tiny nail holes before we primed.

DSC_4680

Sorry for this terrible shot, but here it is stained and primed. Gotta love the lighting in my "workshop." Oh, well. Beggars can't be choosers. I'm lucky my parents let me take over the basement!

DSC_4692

He got two coats of MS Winter's Day. It's a really great blue-gray. I was going to replace the hardware but found the original worked best after a little spray painting.

DSC_4716

Check out that wood grain!

DSC_4719

I love the warm wood tones with the cooler gray. 

The whole thing got a couple coats of wax and it really made the top look nice.

DSC_4721

Here it is with a sneak peak of another project!

DSC_4739 

Here's a shot of his cute little feet. Love the casters.

DSC_4724 

Is it weird that I immediately assign a gender to each new piece I acquire? I hope not!

My cousin Jill, (gee, I've been mentioning her a lot lately!) saw this piece when I was working on it and decided it would be perfect for her bedside table. Here it is all dressed up. I'm loving the cute little bird!

193433_1925967837621_1494921322_32190428_3142184_o

I was sad to see it go but there are other end tables in the sea.

What do you think?

Sincerely,
Ashleigh

PS: Thank you so much to everyone who featured our coffee table makeover! It made my day :) You are all wonderful!

PPS: Linking up to
Chic on a Shoestring Decorating
Furniture Feature Fridays

Domestically Speaking


HOG


Tuesday's Treasures!
Wow Us Wednesdays!
Trash to Treasure!
 http://linda-coastalcharm.blogspot.com/ 

Related Posts Plugin for WordPress, Blogger...