Brace yourselves for a long one.
Picture it. The story starts in a dimly lit junk booth. Dust floating through the air, poor helpless furniture drowning under piles of dirty hats and broken picture frames. I almost walked by when far in the corner, I spotted a shabby little table with puppy dog eyes, just begging to be rescued.
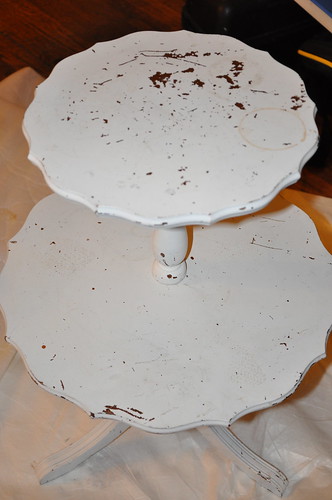
Sad, isn't she?
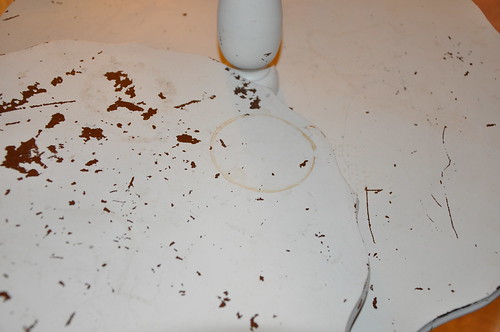
I thought you'd like a close up of the stains. Gross. The top was wobbly too, so I just popped it off.
Well actually, I used it as a bedside table for months. When I could stand it no longer I finally got to work. I sanded it down with a medium grit sanding block to get it as smooth as I could.
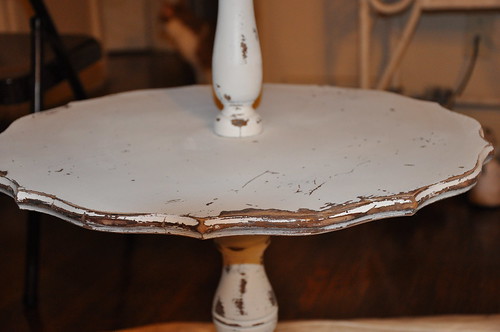
I put one coat of primer on, then used wood glue to stop the top from wobbling.
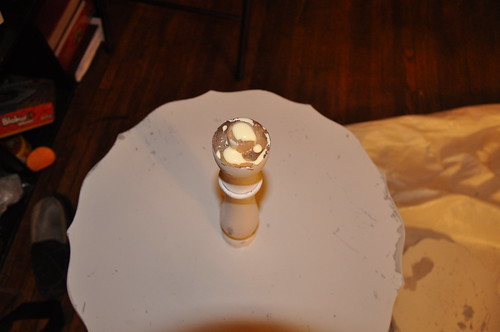
I had to invest in a very sophisticated weight bearing mechanism. Let me tell you, it was pretty pricey.
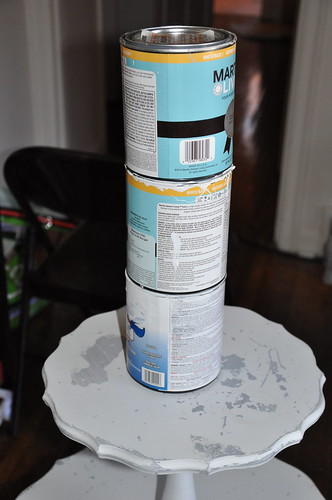
I let it dry over night and put on a second coat of primer the next morning. This thing was pretty beat up, with some weird brown paint/stain under the white paint and I didn't want it showing through.
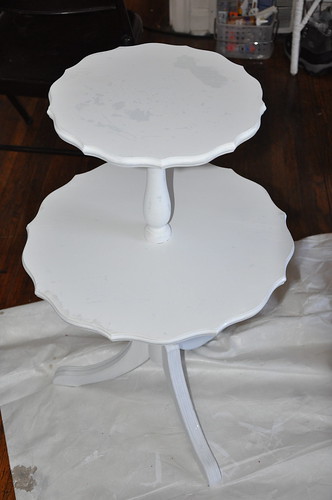
I had a color in mind for this piece. I wanted a light, cool gray that I could distress with white peeking out from underneath. I also had a budget: zero dollars. So I mixed my own!
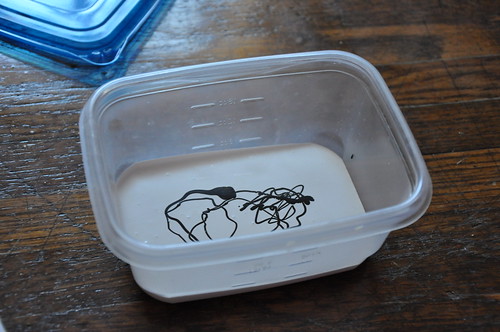
I added some dark gray/black from a sample pot to some white I had on hand. It still seemed too warm so I added a little blue from another sample I had.
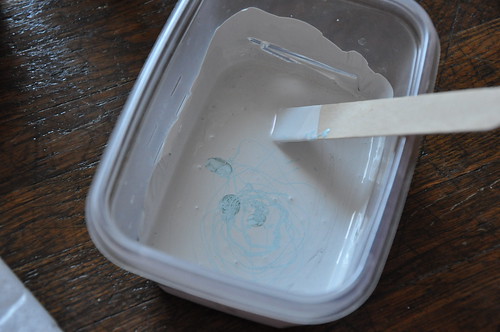
I ended up with the perfect cool gray, for free!
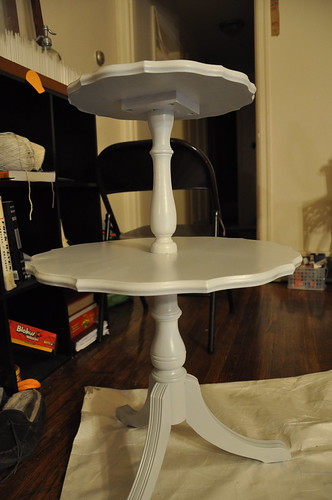
I put on two coats to get good coverage.
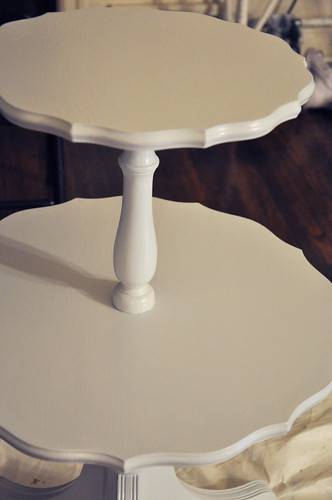
From afar it looked really good. But up close there were too many imperfections, so it needed distressed. I also thought distressing it would bring out the details.
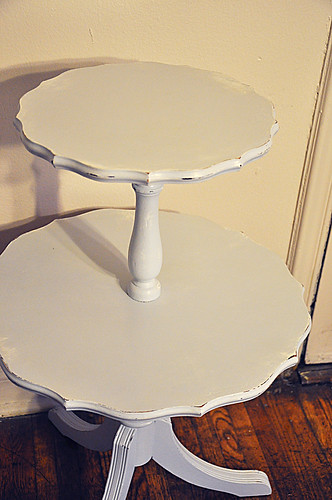
I am thrilled with how it turned out! It is definitely one of my favorite pieces to date. I think the distressing turned out really, really good this time!
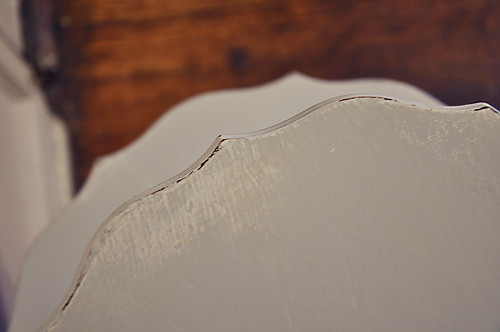
My secret? I used a fine grit sanding sponge. If you're trying to blast straight through to the bare wood, a medium grit is fine. But I wanted a more delicate, natural wearing. So I spent a long, long, LONG, time sanding to get the look I wanted.
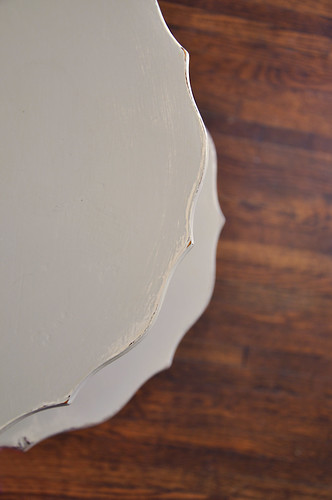
I love the way the white shows through. And I love the contrast of the dark brown and light gray.
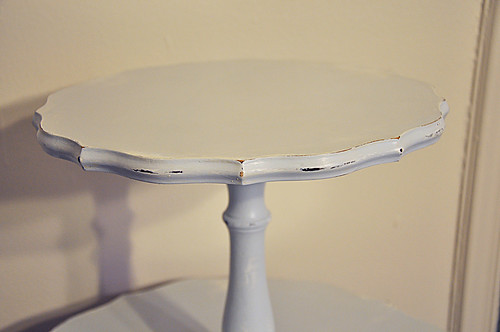
I sealed it with paste wax. It leaves the nicest luster of any top coat I've used.
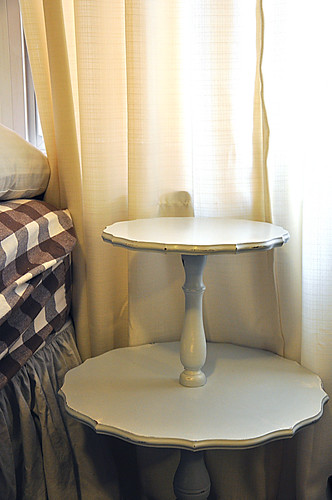
Here it sits next to my bed. But I'm afraid to put anything on it!
Sincerely,
Ashleigh
PS: Linking up to:








15 comments:
Wow. I couldn't envision a better product than this. This piece of furniture was never my favorite because of it's shape and how the paint looked, but I must say you have changed my mind! Tis a beaut.
i would say rescued! it turned out gorgeous. thanks for sharing this at my party!
Nice! The poor little table needed some love.
Love it. The grey looks fantastic, and I'm taking a lot of notice of greys lately since I have a project or two in mind.
Cheers,
Lisa x
oh that was a sad little table! it is so soft and pretty now!
Hi Ashleigh. I'd go ahead and use the table. If the top doesn't hold up and gets wobbly again, go to Lowes and buy a package of dowel pins. You drill a hole into the table top (not deep enough to come through the top, but enough to hold part of the pin). Make a hole into the base. Glue the pin into the holes on the top and bottom and you'll have a sturdier piece.
You'll need a drill for this fix. Buy the dowel pin package that comes with a stop to put on your drill bit so you don't overdrill the hole.
The table looks great, by the way.
You did a beautiful job with this table - I am impressed!
Found you on the Hello Friend Blog Hop and am now following you. I'd love it if you would follow me at Dropped Stitches.
I love that table! Great job! 8>)
Turned out great, I love the style of this table!
I LOVE how this table turned out! Great job! So glad I came across your blog. I'm a new follower.
So Stinkin cute!
Fantastic- love the white and wood coming through!
Kate @ welcomedtempest.blogspot.com
The table looks wonderful. I love that you mixed your own paint. That's something I'm going to start trying to do.
Janet
So pretty! I love the soft gray and the distressing looks perfect!
Post a Comment