Spring break is always a great time to catch up on quality time with family, friends and projects. And last week I did a lot of all three! It was so nice to spend time with my parents, siblings, cousin, boyfriend, best friend and a few others! I can say though, by the end of the week I was tired of going out to eat! I'm thankful for all the good meals though. It really beats my college cuisine.
I have to give a special thanks to my incredible boyfriend who searched for my missing kitty in the dark while it was freezing cold. He also helped me work on projects! I tell ya, I really lucked out with this one. I'm also happy to report my cat came back after a few nights out in the cold. I think I'm turning into a crazy cat lady even more so after that event.
Anyway, back to the project I want to show everyone!
It all started when my best friend, Rachel, texted me and wanted to hang out. I told her I was down for anything fun and cheap! So we decided to tackle a project she had been wanting to do. She's my partner in crime when it comes to DIY projects a decorating and we always have a blast when we work on projects together.
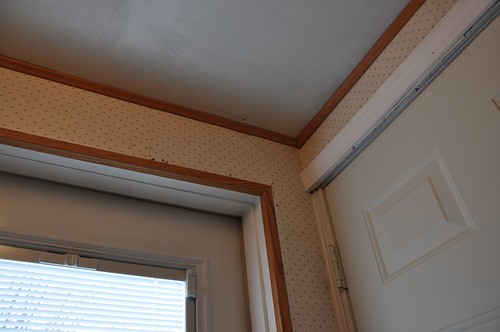
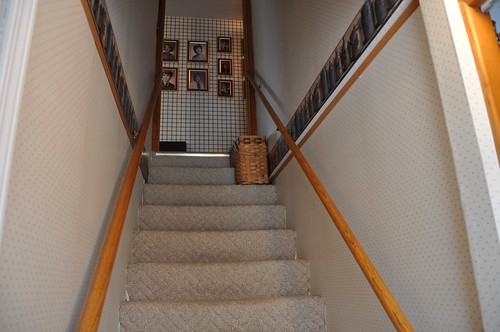
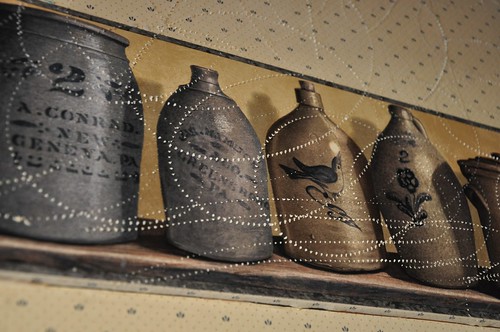
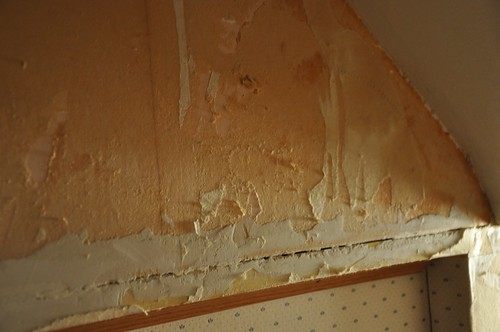
Enter her grandma's stair/entry way and lots of bad, bad wallpaper:
Rachel's grandma wants to slowly update her home so Rachel jumped at the chance to help out. She's already redone her bathroom and it turned out awesome! The steps are the first thing you see when you enter the house and we decided the wallpaper had to go.
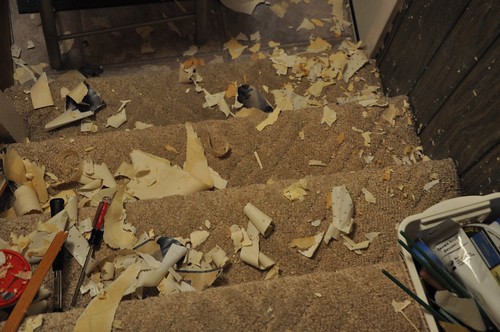
Tearing down the old wallpaper was the majority of the work. Someone had wallpapered over wallpaper! So it was twice as hard. We scored the wallpaper with a special tool and then began soaking it with a 50/50 mixture of water and fabric softener. It's the magic solution.
Here's a small portion of the mess we were making. It got worse. A LOT WORSE.
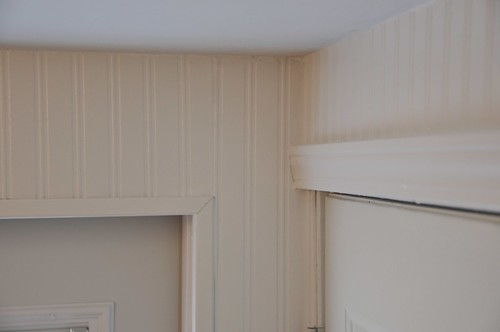
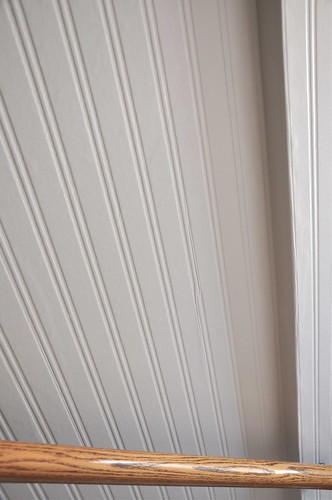
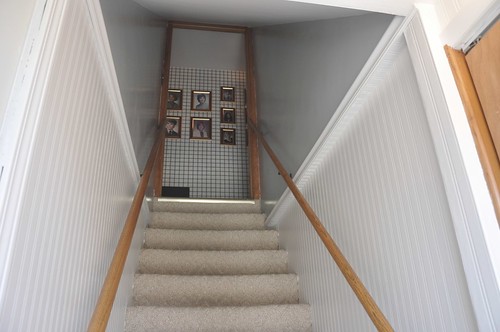
After hours of this we finally made it down to the plaster and paneling that was underneath. Because of the weird set up we decided to paint the top portion, use chair rail in between, and beadboard wallpaper for the bottom part. We chose wallpaper because it was easier and we were on a budget!
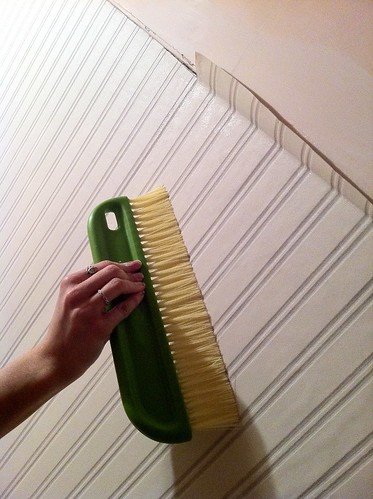
We'd never done wallpaper before so Rachel's handy cousin Abby came over with some tools and showed us how to do it. You have to soak the prepasted wallpaper in this tub of water to activate the adhesive.
Then you put it on the wall and smooth out the bubble with this handy brush. Once we got the hang of it it wasn't too bad. We were wallpapering around steps which I wouldn't advise for your first wallpapering project, but we managed!
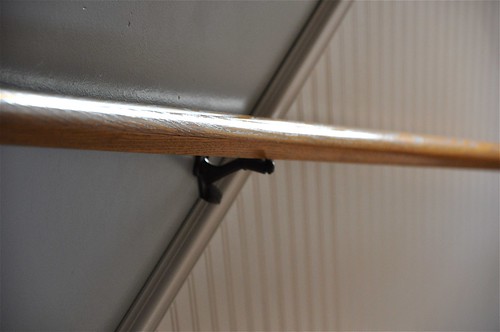
We spray painted the hardware for the handrails in a charcoal gray color and also did the light switch cover to match. Rachel's dad helped us by cutting the chair rail. We painted the upper portion a really pretty blue/gray. I can't remember the name but can get it from Rachel if anyone is curious!
It was tricky in the little parts but any imperfections were covered with caulking.
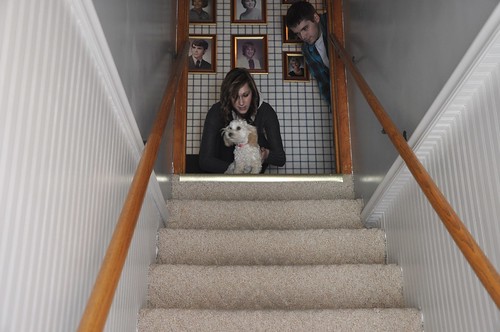
I had to show our little helper, Charlie. We tried to get her to sit pretty for a picture...
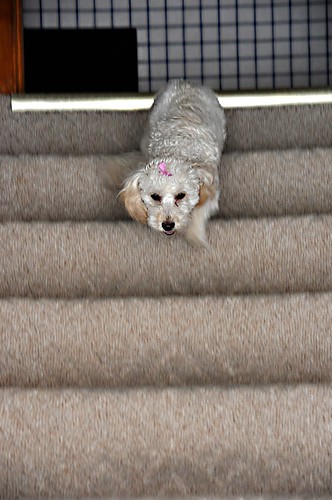
But this kept happening instead!
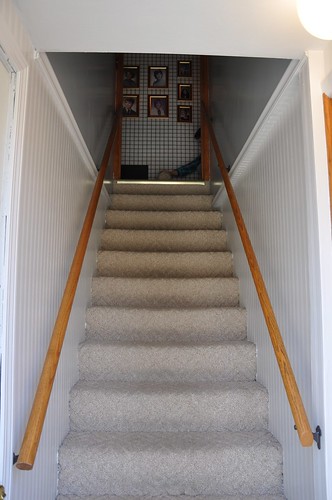
Here's the view as you enter.
And here's a little side by side comparison. We love it!
Next to go is that checker wallpaper in the hallway!
So what do you guys think? Has anyone out there ever used beadboard wallpaper before? Would you ever consider using wallpaper this way?
Sincerely,
Ashleigh
PS Linking up to:


