Navigation Bar Home Furniture Posts DIY POSTS Photography Design

5.23.2011

"come and open up your folding chair next to me"

Happy Monday!

...seriously! I'm going to IKEA today. The place that dreams are made of.

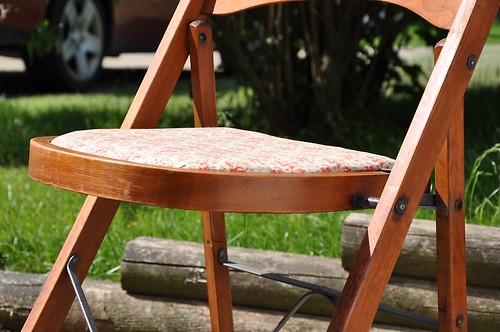
Before I leave I want a chair a quick little makeover Rachel and I did the other day. We went hunting for a little something something to work on and she found an old wooden folding chair.

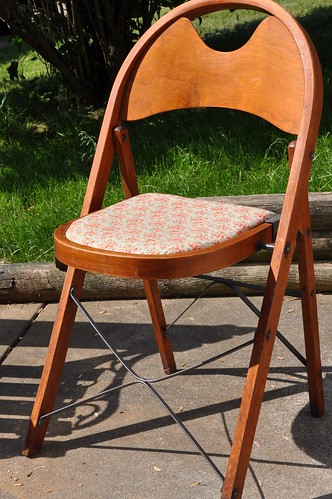
She already had this one that she had fixed up:
DSC_4883

A little furniture polish, spray paint and new fabric it was good to go.
DSC_4887

DSC_4889

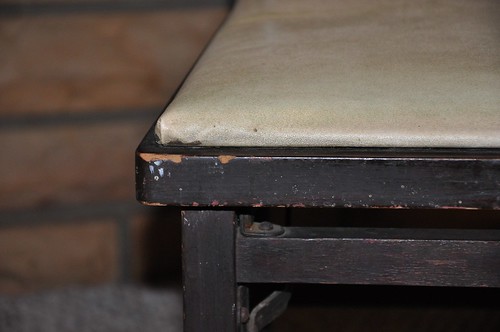
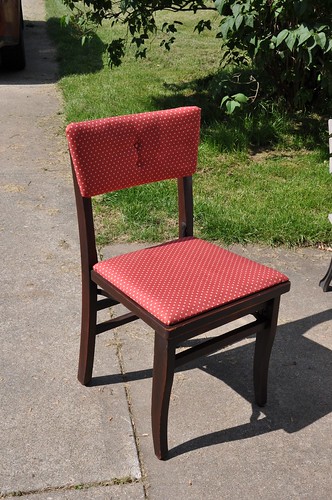
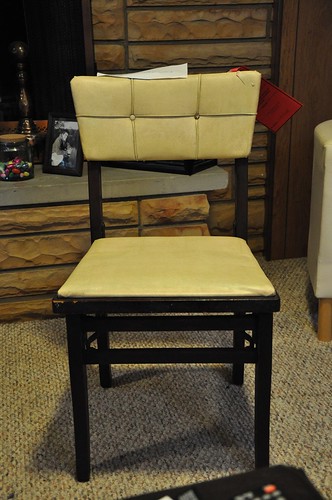
So we were happy to stumble on this little chair:
DSC_4852

DSC_4854

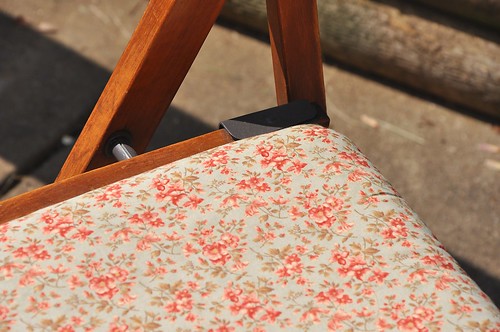
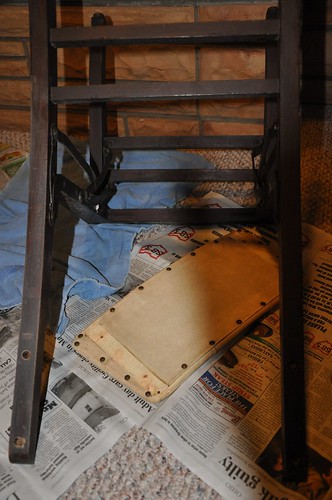
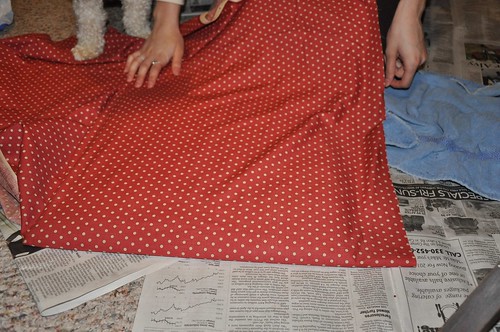
We stopped to pick up some fabric and got to work as soon as we got back to Rachel's. She worked on reupholstering while I dug out tacks and sanded down the frame.
DSC_4856

We wanted to keep it authentic looking so we just sanded down the frame to smooth out any major dings and rubbed it with furniture polish, leaving it distressed.
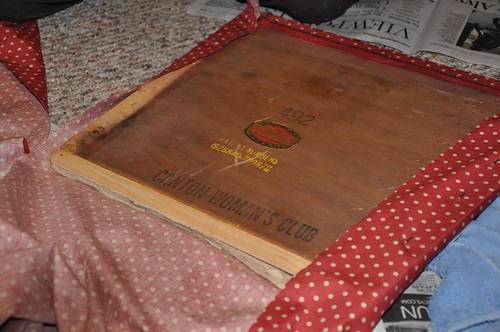
DSC_4855

DSC_4858

We measured enough fabric and then stapled it to the seat. The existing batting was in decent condition so we kept it.

The top was a little bit trickier because it was curved and we had to do both sides, but we made it work.
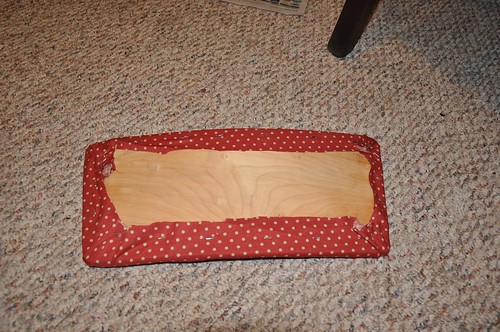
DSC_4860

First we stapled the front. Then, using the old vinyl as a guide, we cut a piece for the back and used an iron to give it crisp edges.
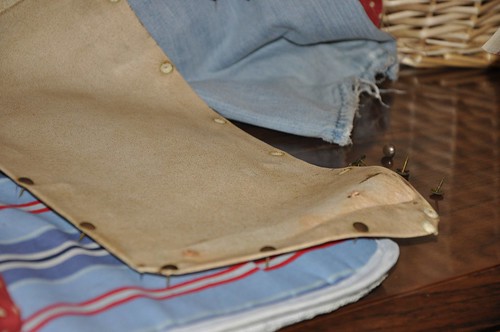
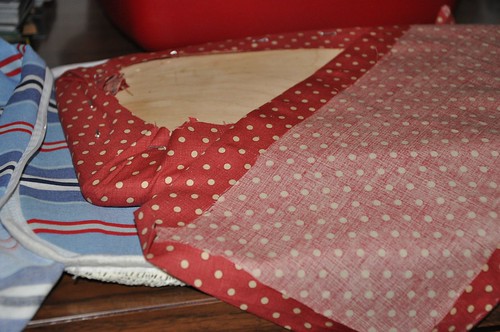
DSC_4864

DSC_4863

DSC_4865

I was able to salvage the existing nail heads so I wanted to use those. We hot glued the fabric into place so it wouldn't move around on us then pounded the nail heads in.

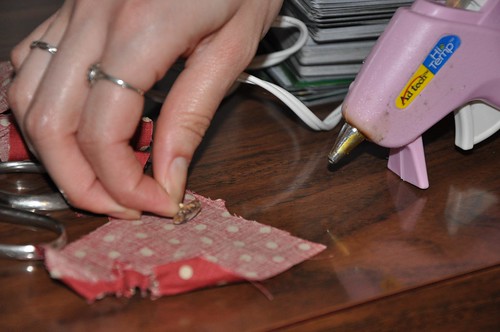
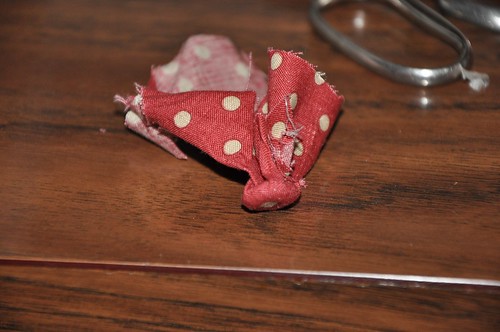
We also reused the original tufting buttons. Using hot glue, we covered them with fabric. This is probably a pretty jenk way to do this haha but it worked!
DSC_4861

DSC_4862

We put them vertically instead of horizontally to change it up a little bit.

And the final product!

DSC_4881

DSC_4880

For some reason I completely forgot to take a picture of the nail head trim in the back! If you follow us on twitter I'll tweet a picture later so you can see!

I'll also be pinning my favorite things from IKEA. You can follow me/check out my boards on Pinterest here.

And! If you love Rachel's style as much as I do you can find other posts featuring Rachel here, here and here.

We also worked on a coffee table and a garden bench (both freebies) and I'll share those with you later this week.

I'm off to shop 'til I drop!

Sincerely,
Ashleigh
PS:
PhotobucketMy Uncommon Slice of Suburbia HOGPhotobucketBeyond The Picket
 FenceTransformation ThursdayFurniture
 Feature Fridays

5.19.2011

In Progress // Project A.D.D.

[please excuse the awful iPhone pictures throughout this post]

I am wiped out. I've been working on projects for about 8 straight hours today. And I didn't even get one thing finished! I must have Project A.D.D. I start one thing, move to another, then another, then another. I always have a million different ideas for a million different projects running through my mind.

Tonight I'll give you a little taste of what I've been working on. No big reveals, though. That will be for this weekend/early next week.

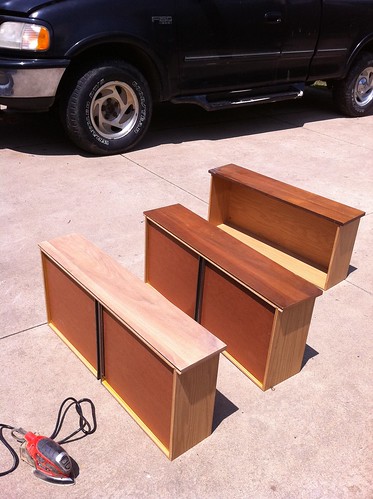
SO MUCH SANDING! I sanded my way through the drawer fronts of a mid century dresser I've been working on.

IMG_0162

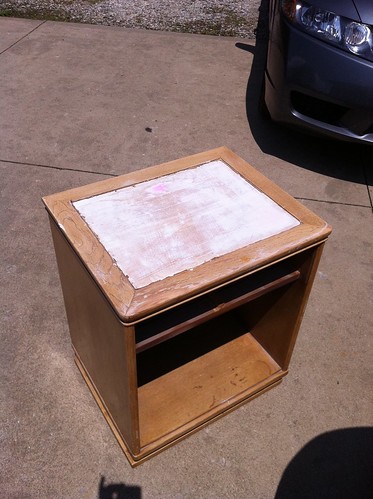
I repaired the water damaged top of my curbside end table.

IMG_0164

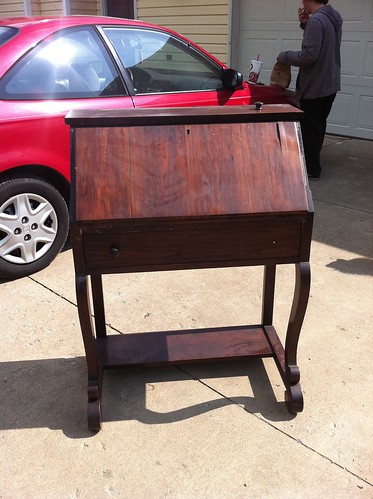
I picked up this beauty from my Aunt Dar. Did I mention how she's my favorite?! Haha. I love having supportive family.

IMG_0168

IMG_0172

I stained the drawers with dark walnut.

IMG_0166

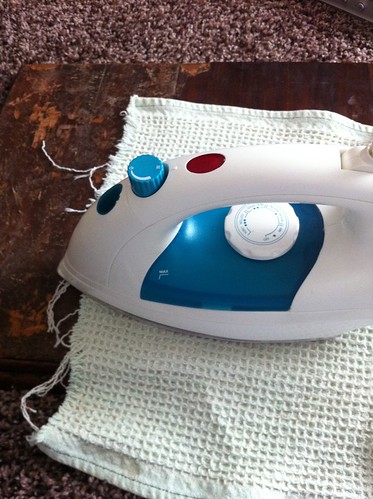
I couldn't wait to start so I disassembled the desk and started peeling off bubbled up veneer.
TIP: Heat the veneer with an iron to melt the glue and make it easier to remove.

IMG_0174

I also couldn't wait to try the paint color I picked out, so I did a quick coat on the drawer of my end table.

IMG_0178

Not pictured: sanding and two coats of primer on the end table, repairs to the desk, lots and lots of spackling, more sanding and a little more sanding.

Tomorrow I'm hoping to start and finish the body of the dresser, paint the end table and get the desk sanded and primed.

Wish me luck! Hope your week has been a productive one!

Sincerely,
Ashleigh

5.18.2011

Rescuing Some Antique Frames

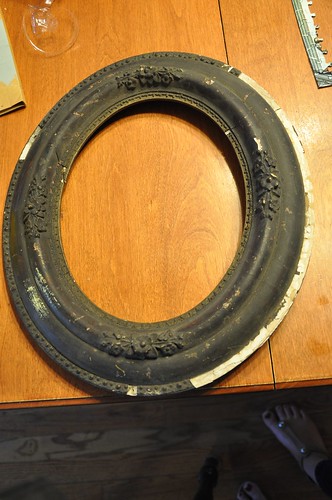
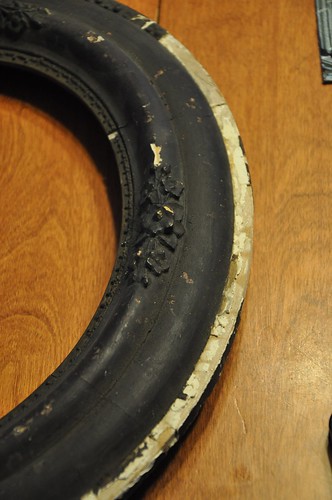
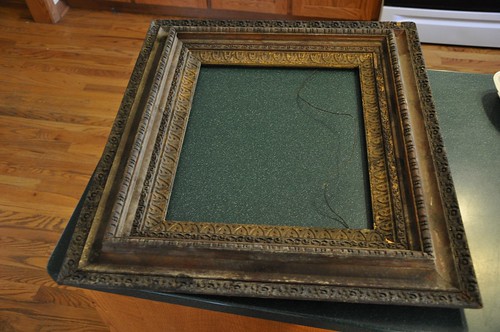
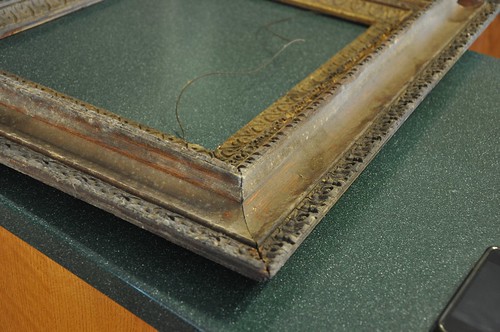
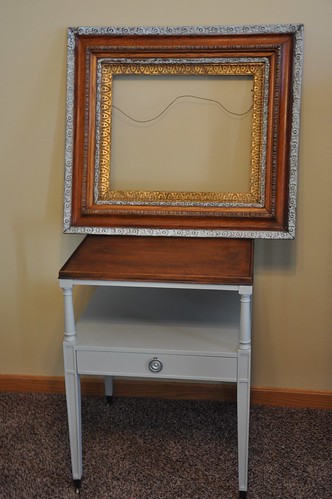
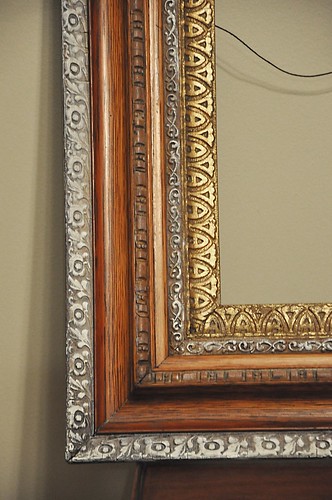
The rain (and the death of my palm sander) is hindering my project progress. So, today I'm going to share a couple of frames I fixed up for my cousin Jill a while back. You might remember that I fixed up an end table and a coffee table for her. Her mom (my great Aunt) had these in her garage and thought we could do something with them.

They were in pretty rough condition.

DSC_4699

DSC_4700

DSC_4707

DSC_4706

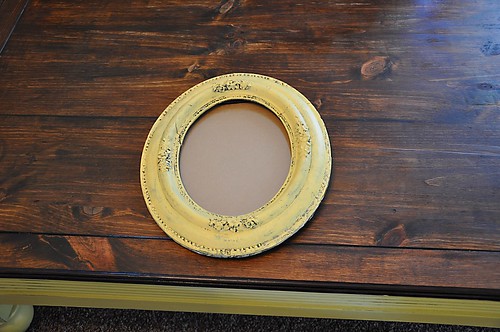
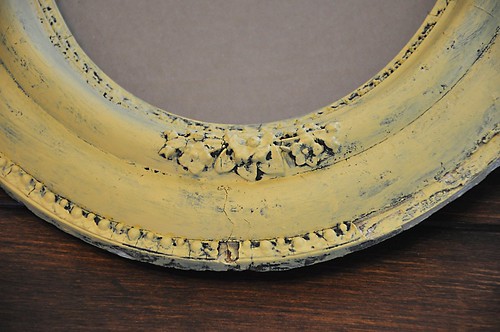
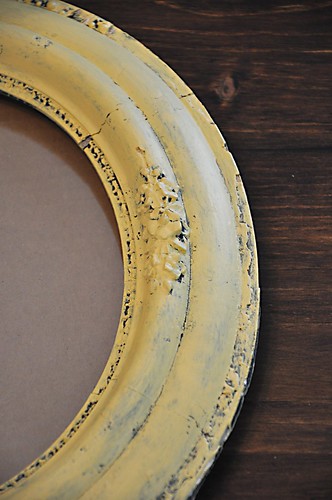
I wiped off the round one and painted it yellow. I used really light coats of paint and left some original black showing through.

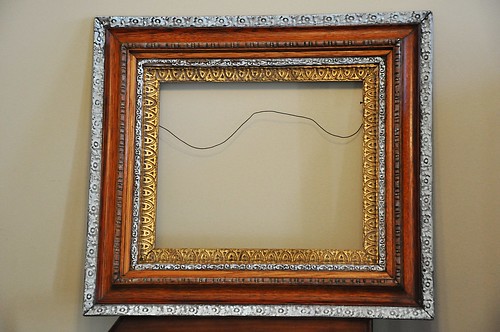
The other one took a little more work. Aided with some warm soapy water, windex and a toothbrush, I attacked it.

DSC_4710

DSC_4709

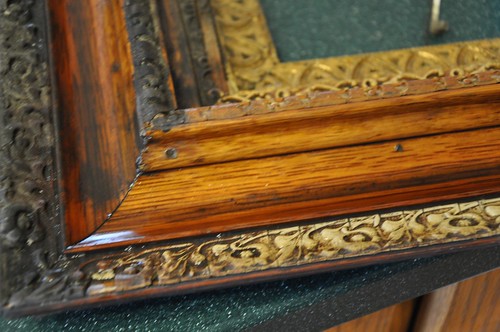
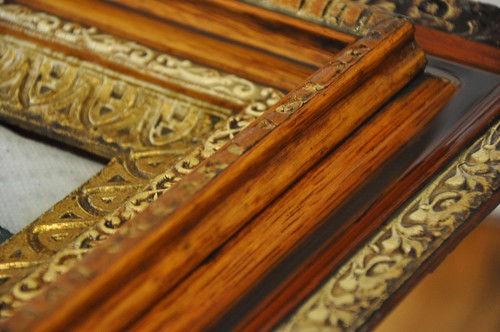
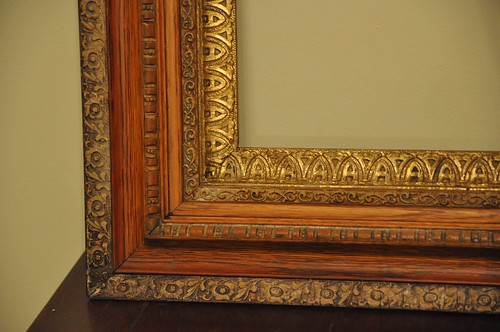
I couldn't believe what it looked like underneath that layer of nasty. Two hours later I had this-

DSC_4714

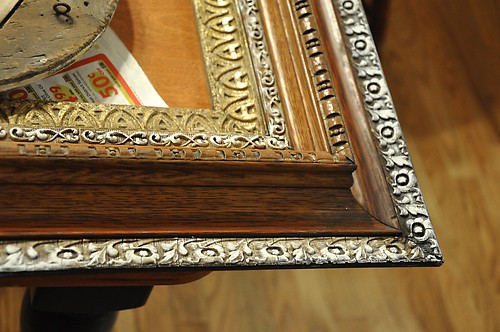
The plaster looked a little dingy so I dry brushed on a little paint to match the end table.

DSC_4715

DSC_4726

DSC_4729

DSC_4740

DSC_4741

DSC_4742


DSC_4743

Here they are at Jill's.


I hope this rain stops sometime soon so I can get out and work in the sun. Check back this week for new projects :)

Sincerely,
Ashleigh

PS:
PhotobucketDomestically SpeakingTransformation Thursday Beyond The Picket FencePhotobucket


Related Posts Plugin for WordPress, Blogger...