Navigation Bar Home Furniture Posts DIY POSTS Photography Design
Showing posts with label fabric. Show all posts

5.23.2011

"come and open up your folding chair next to me"

Happy Monday!

...seriously! I'm going to IKEA today. The place that dreams are made of.

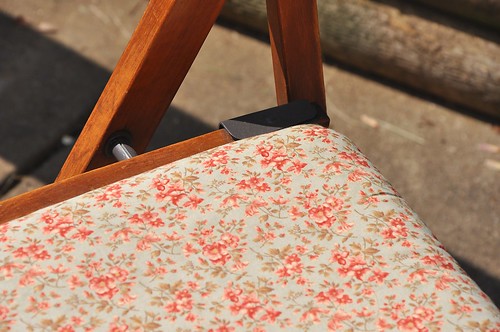
Before I leave I want a chair a quick little makeover Rachel and I did the other day. We went hunting for a little something something to work on and she found an old wooden folding chair.

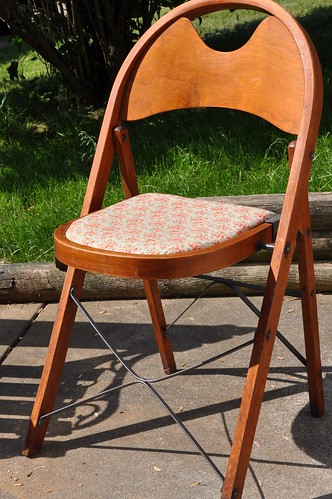
She already had this one that she had fixed up:
DSC_4883

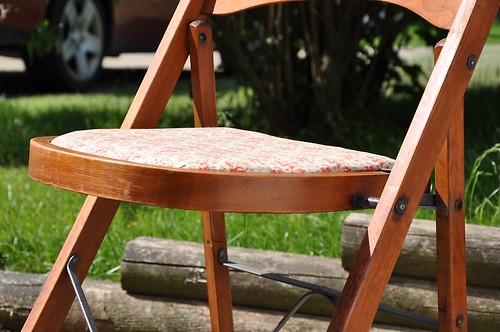
A little furniture polish, spray paint and new fabric it was good to go.
DSC_4887

DSC_4889

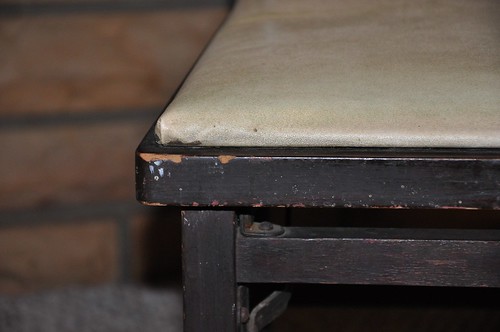
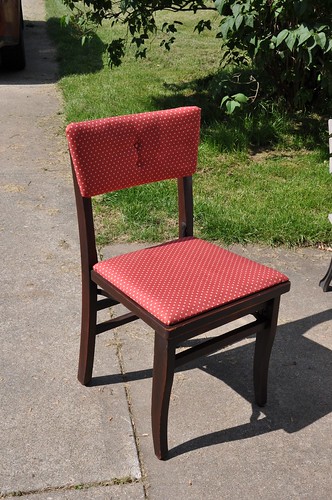
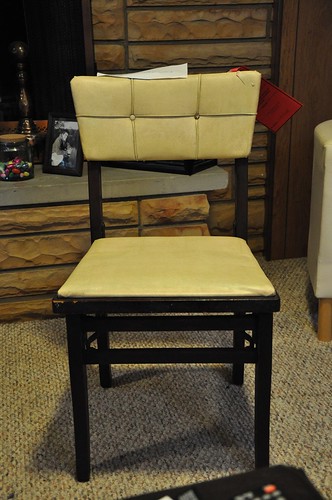
So we were happy to stumble on this little chair:
DSC_4852

DSC_4854

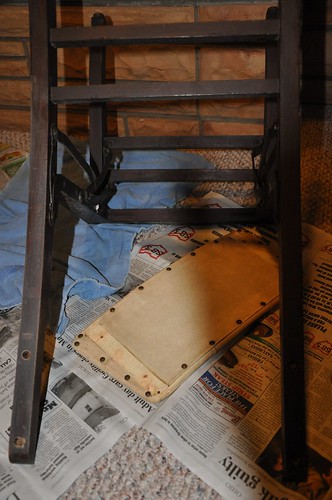
We stopped to pick up some fabric and got to work as soon as we got back to Rachel's. She worked on reupholstering while I dug out tacks and sanded down the frame.
DSC_4856

We wanted to keep it authentic looking so we just sanded down the frame to smooth out any major dings and rubbed it with furniture polish, leaving it distressed.
DSC_4855

DSC_4858

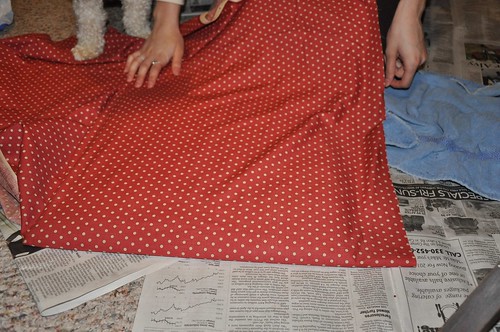
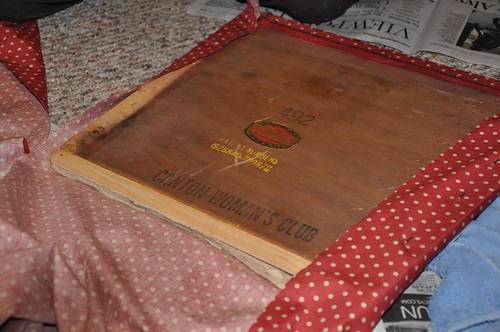
We measured enough fabric and then stapled it to the seat. The existing batting was in decent condition so we kept it.

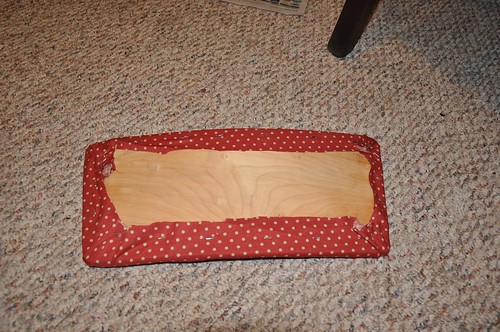
The top was a little bit trickier because it was curved and we had to do both sides, but we made it work.
DSC_4860

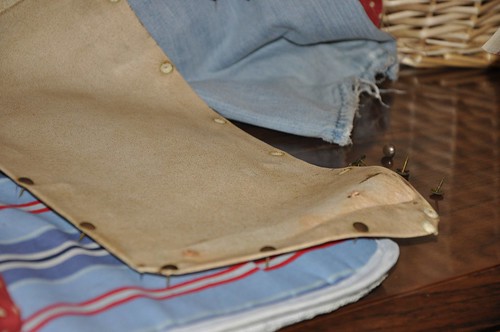
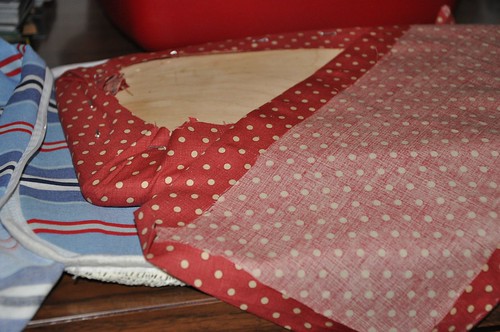
First we stapled the front. Then, using the old vinyl as a guide, we cut a piece for the back and used an iron to give it crisp edges.
DSC_4864

DSC_4863

DSC_4865

I was able to salvage the existing nail heads so I wanted to use those. We hot glued the fabric into place so it wouldn't move around on us then pounded the nail heads in.

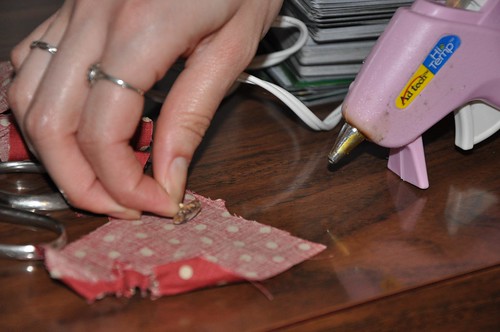
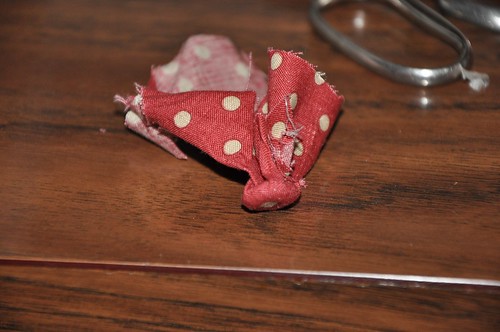
We also reused the original tufting buttons. Using hot glue, we covered them with fabric. This is probably a pretty jenk way to do this haha but it worked!
DSC_4861

DSC_4862

We put them vertically instead of horizontally to change it up a little bit.

And the final product!

DSC_4881

DSC_4880

For some reason I completely forgot to take a picture of the nail head trim in the back! If you follow us on twitter I'll tweet a picture later so you can see!

I'll also be pinning my favorite things from IKEA. You can follow me/check out my boards on Pinterest here.

And! If you love Rachel's style as much as I do you can find other posts featuring Rachel here, here and here.

We also worked on a coffee table and a garden bench (both freebies) and I'll share those with you later this week.

I'm off to shop 'til I drop!

Sincerely,
Ashleigh
PS:
PhotobucketMy Uncommon Slice of Suburbia HOGPhotobucketBeyond The Picket
 FenceTransformation ThursdayFurniture
 Feature Fridays

5.11.2011

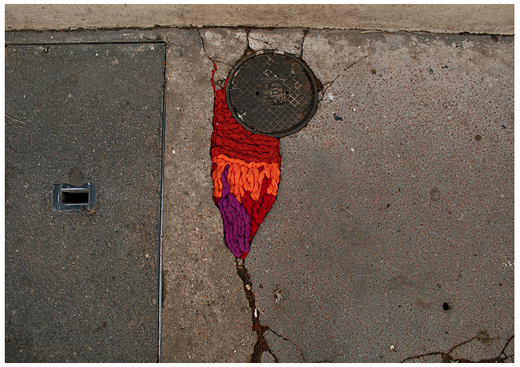
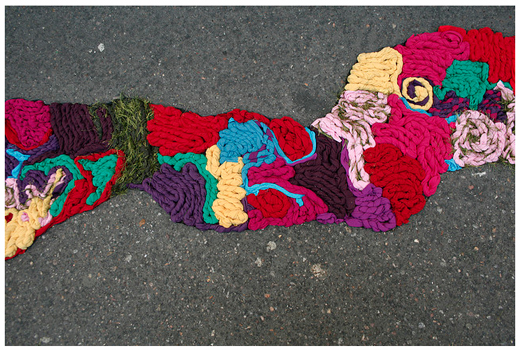
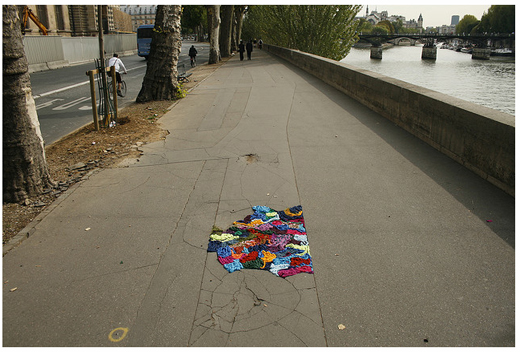
Juliana Santacruz Herrera

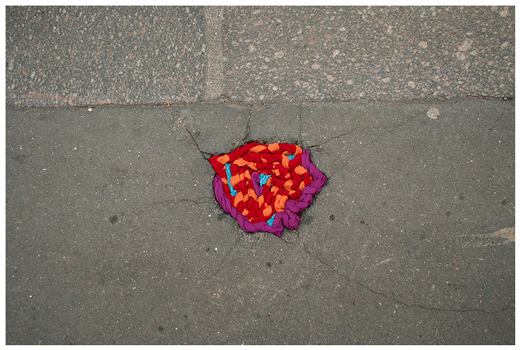
I found this artist, Juliana Santacruz Herrera a bit ago, but had to share her work with you all if you haven't seen her! She crammed all of this lovely fabric into potholes in Paris. What a great solution to adding a bit of color to an ugly eyesore that is a pothole. Also, I'm determined to learn how to knit this summer and her work and the colors in it have much inspired me. (I'll keep you guys posted on how it goes!)

k1

k2

k4

k3

Sincerely,
Sarah

5.03.2011

DIY scarf

I was shopping in northern Michigan about 3 or 4 years ago and I came across the most unusual scarf, but it was about $80! I thought to myself, "why I could make that!" (Ashleigh and I, along with a lot of you readers must have the same thoughts every day!)

I tried to find a photo of a similar scarf to show you, but I couldn't. Essentially, it's just the fringe of a scarf exaggerated almost from edge to edge. I haven't seen this exact scarf anywhere else, just pieces of the idea. When choosing a fabric, make sure it's double sided, a little stretchy, and pretty neutral in color. (I wouldn't suggest too bold of a pattern because the fringes along with a pattern would be way too much.)Chose a desired length of how long you might like it to be.

scarf6
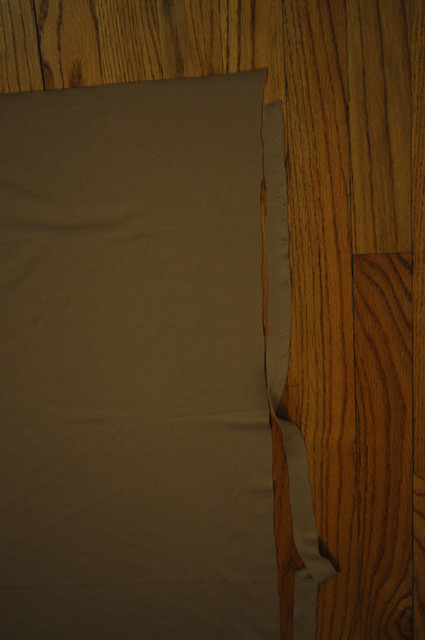
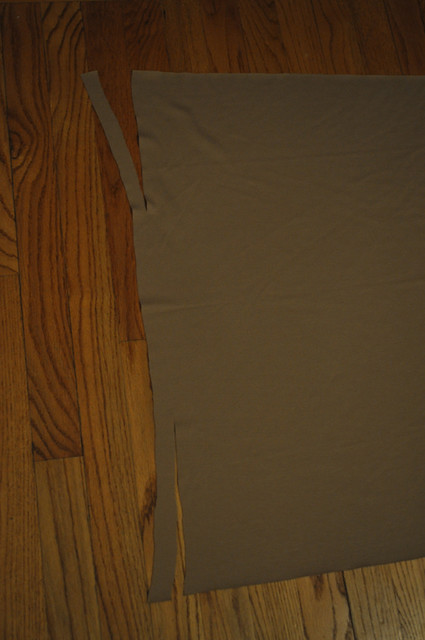
Lay out the fabric, so that you can find the center.

scarf5
Make sure to cut off the ends where you might be able to see the hems.

scarf4
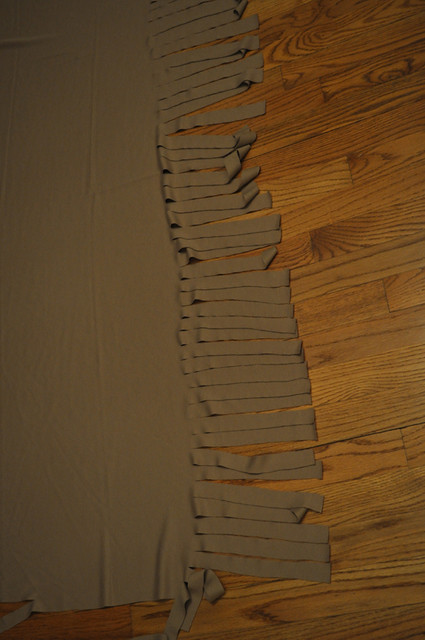
Now, cut the desired length of the fringes. In the end, I had about 3 to 4 inches in between each side.

scarf2
I would cut all of one side and then flip to the other. Feel free to make the fringes longer after you finish. It would be better to have more space in the middle before, because you can't easily add it afterwards. Also feel free to mix up the lengths of the fringes from the one above!

scarf1
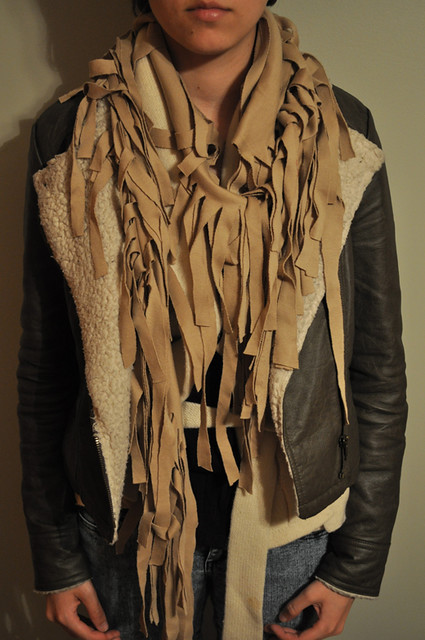
In the end, it should look a lot like this! The best part about this scarf is that it's essentially fool proof! Any errors made are easily hidden in all of that texture!
Sincerely,
Sarah

PS: Don't forget to join our Follower Appreciation Giveaway here!

PS:
Show & Tell @ Blue Cricket Designs
Beyond The Picket
 FenceTransformation Thursday The DIY Show Off

5.02.2011

An Amputee Chair Makeover

Craigslist strikes again!  You might remember some of these CL makeovers here and here. What can I say? I love Craigslist. I might be addicted. I might have a problem.

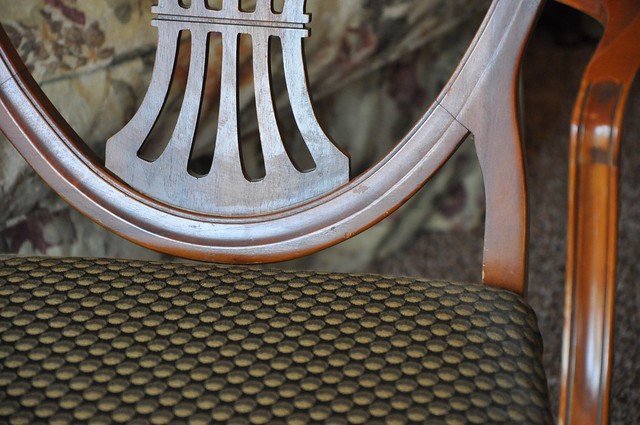
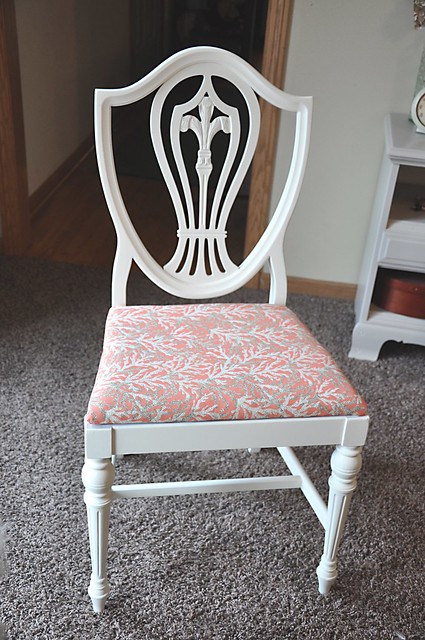
Anyway, I first showed you these chairs in this post. I couldn't wait to get home and work on them. I ended up only having enough time to get one done, but I love the way it turned out.

DSC_4826

I call it an amputee because it has a twin. But the twin has arms. Lucky chair.

DSC_4827

DSC_4828

I took the seats off, made a few minor repairs and sanded them down.

DSC_4831

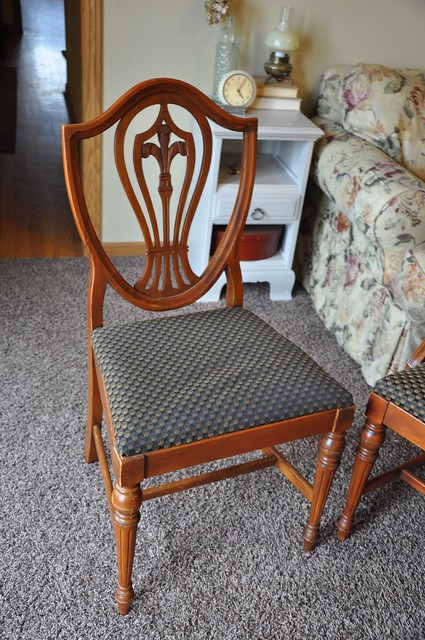
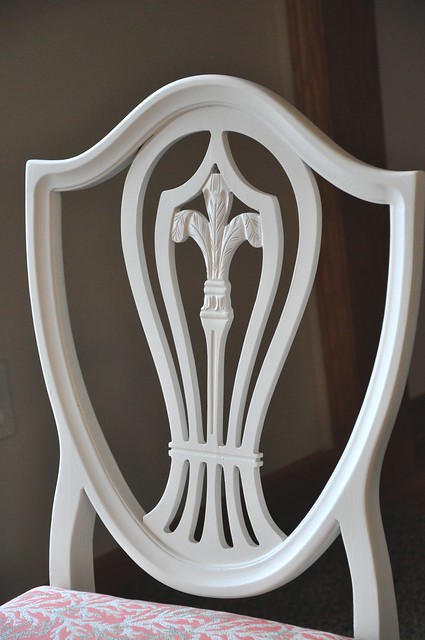
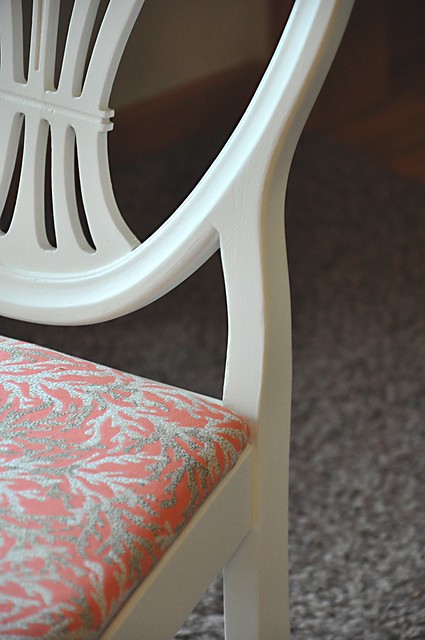
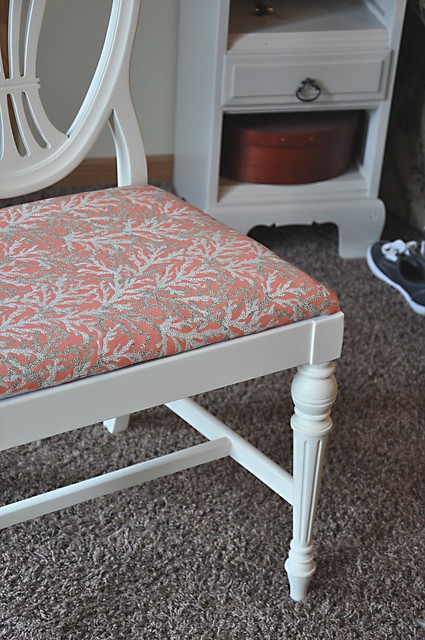
I painted the frame in Martha Stewart's Heavy Cream and picked up this great coral fabric from Joann's. I'm hoping to have enough left to make a pillow.

DSC_4826


DSC_4829


DSC_4832


DSC_4833


DSC_4830

I'm in love. I can't wait to finish his armed brother. (I'm not sure why these are boys, but they are.)

What do you think? Eh? Not half bad?

Sincerely,
Ashleigh

PS: PS: Don't forget to join our Follower Appreciation Giveaway here!

PPS:
Photobucket
Domestically Speaking Chic on a Shoestring Decorating
My Uncommon Slice of Suburbia Furniture Feature Fridays
HOGTransformation Thursday
Tip 
Junkie handmade projects Beyond The Picket Fence
Related Posts Plugin for WordPress, Blogger...