

Happy Monday!
...seriously! I'm going to IKEA today. The place that dreams are made of.
Before I leave I want a chair a quick little makeover Rachel and I did the other day. We went hunting for a little something something to work on and she found an old wooden folding chair.
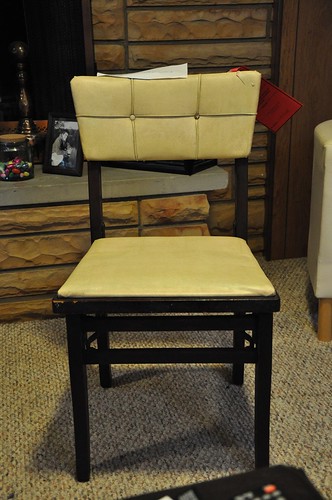
She already had this one that she had fixed up:
A little furniture polish, spray paint and new fabric it was good to go.
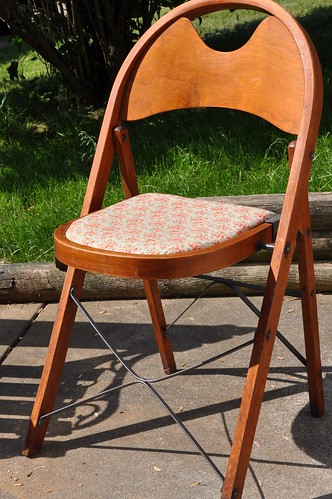
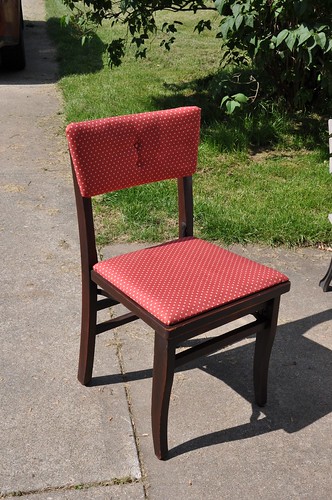
So we were happy to stumble on this little chair:
We stopped to pick up some fabric and got to work as soon as we got back to Rachel's. She worked on reupholstering while I dug out tacks and sanded down the frame.
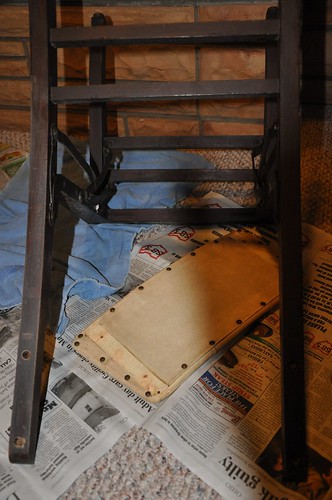
We wanted to keep it authentic looking so we just sanded down the frame to smooth out any major dings and rubbed it with furniture polish, leaving it distressed.
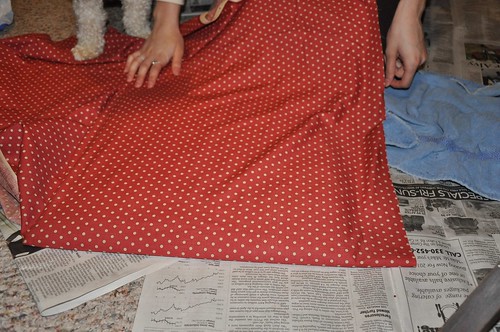
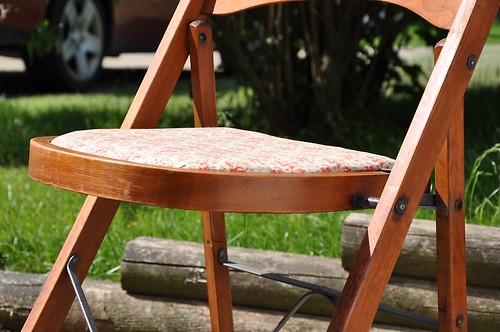
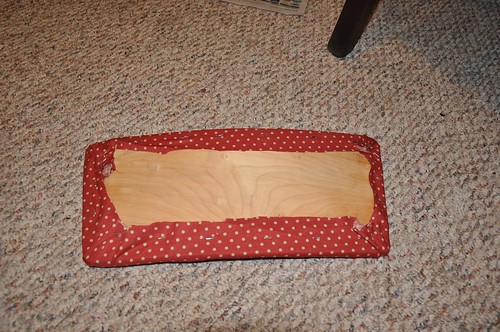
We measured enough fabric and then stapled it to the seat. The existing batting was in decent condition so we kept it.
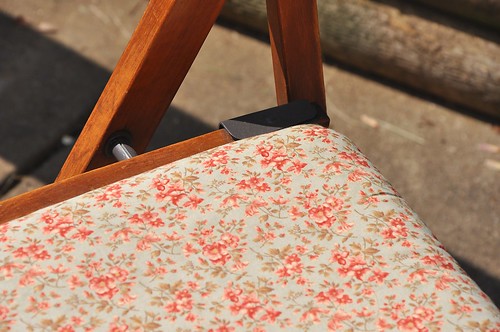
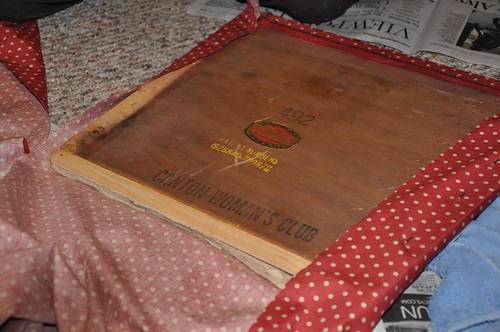
The top was a little bit trickier because it was curved and we had to do both sides, but we made it work.
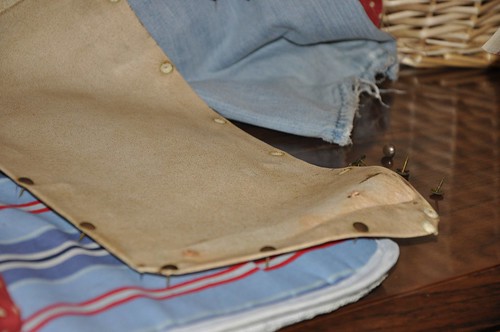
First we stapled the front. Then, using the old vinyl as a guide, we cut a piece for the back and used an iron to give it crisp edges.
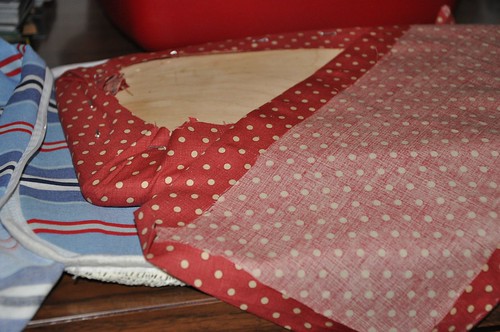

I was able to salvage the existing nail heads so I wanted to use those. We hot glued the fabric into place so it wouldn't move around on us then pounded the nail heads in.
We also reused the original tufting buttons. Using hot glue, we covered them with fabric. This is probably a pretty jenk way to do this haha but it worked!
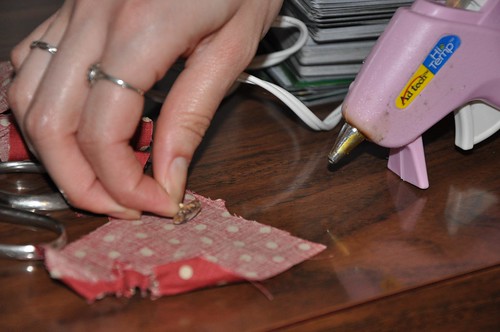
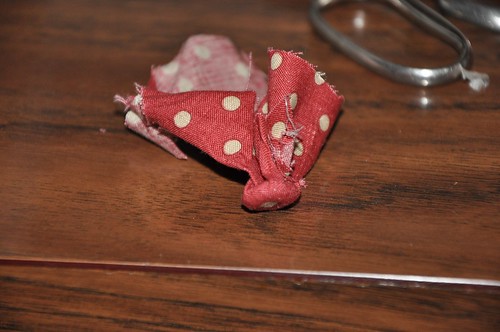
We put them vertically instead of horizontally to change it up a little bit.
And the final product!

For some reason I completely forgot to take a picture of the nail head trim in the back! If you follow us on twitter I'll tweet a picture later so you can see!
I'll also be pinning my favorite things from IKEA. You can follow me/check out my boards on Pinterest here.
And! If you love Rachel's style as much as I do you can find other posts featuring Rachel here, here and here.
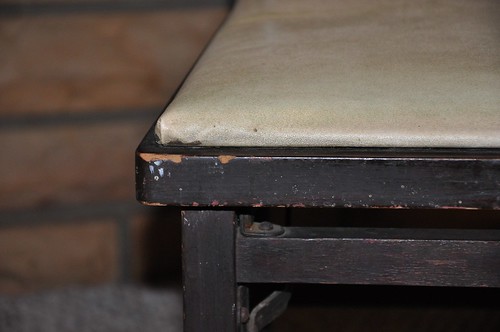
We also worked on a coffee table and a garden bench (both freebies) and I'll share those with you later this week.
I'm off to shop 'til I drop!
Sincerely,


8 comments:
Those chairs are so fun! I like that you didn't repaint the black one, saves you time !!
Happy painting,
Julie
I love how this turned out! It's a little bit girly and super sophisticated!
so cute! i love the little tufting detail!
Love those buttons on the back!
I love that chair! I have been so afraid to try to do a complete chair redo like that. I have done the cushions as a recover...but nothing as beautiful as that. Thinking about doing my dining room chairs now. Thank you so much for sharing!
Great job on the chairs!! Love the button detailing!
love them both, after your tutorial i am willing to tackle a two sided upholstered chair!
Pretty! Love the red!
Post a Comment