I was shopping in northern Michigan about 3 or 4 years ago and I came across the most unusual scarf, but it was about $80! I thought to myself, "why I could make that!" (Ashleigh and I, along with a lot of you readers must have the same thoughts every day!)
I tried to find a photo of a similar scarf to show you, but I couldn't. Essentially, it's just the fringe of a scarf exaggerated almost from edge to edge. I haven't seen this exact scarf anywhere else, just pieces of the idea. When choosing a fabric, make sure it's double sided, a little stretchy, and pretty neutral in color. (I wouldn't suggest too bold of a pattern because the fringes along with a pattern would be way too much.)Chose a desired length of how long you might like it to be.
Lay out the fabric, so that you can find the center.
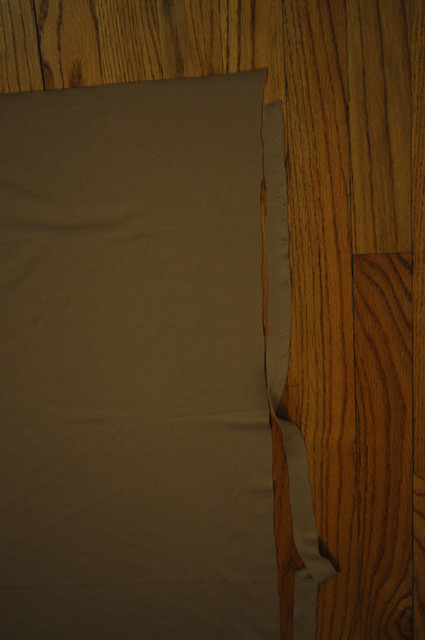
Make sure to cut off the ends where you might be able to see the hems.
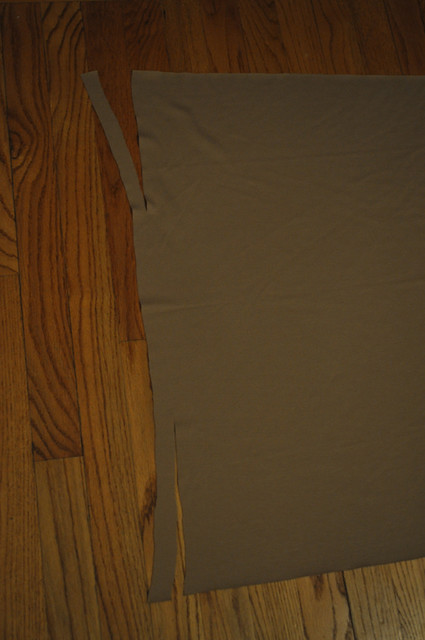
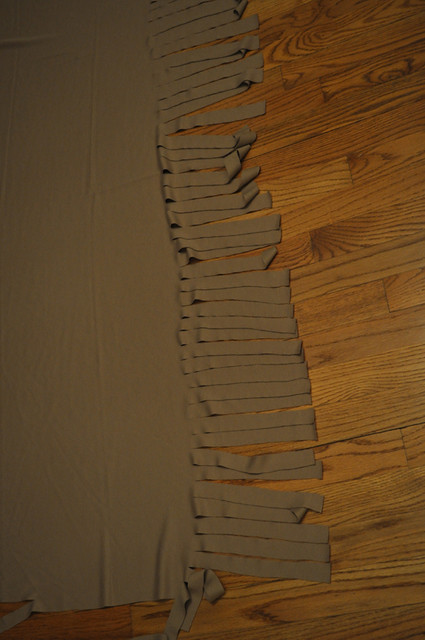
Now, cut the desired length of the fringes. In the end, I had about 3 to 4 inches in between each side.
I would cut all of one side and then flip to the other. Feel free to make the fringes longer after you finish. It would be better to have more space in the middle before, because you can't easily add it afterwards. Also feel free to mix up the lengths of the fringes from the one above!
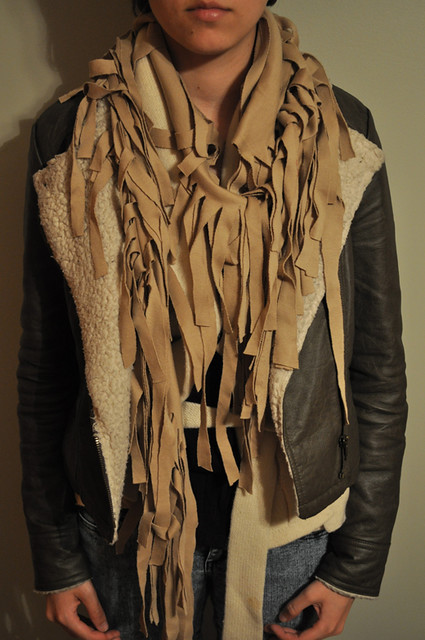
In the end, it should look a lot like this! The best part about this scarf is that it's essentially fool proof! Any errors made are easily hidden in all of that texture!
Sincerely,
Sarah


PS: Don't forget to join our Follower Appreciation Giveaway here!
PS:
Show & Tell @ Blue Cricket Designs












4 comments:
Holla at me.
That's great! What size did you make yours? It looks pretty big.
It's about a yard and half I would say...but feel free to make yours any smaller. It will stretch and get a longer a bit, but I just wanted to have a lot to wrap around!
Good reaading your post
Post a Comment